Access Tokens
The access token allows us to make requests via both HTTP and MQTT, as well as integrate other interfaces such as The Things Network. It is possible to generate as many tokens as needed and assign the required permissions to each one.
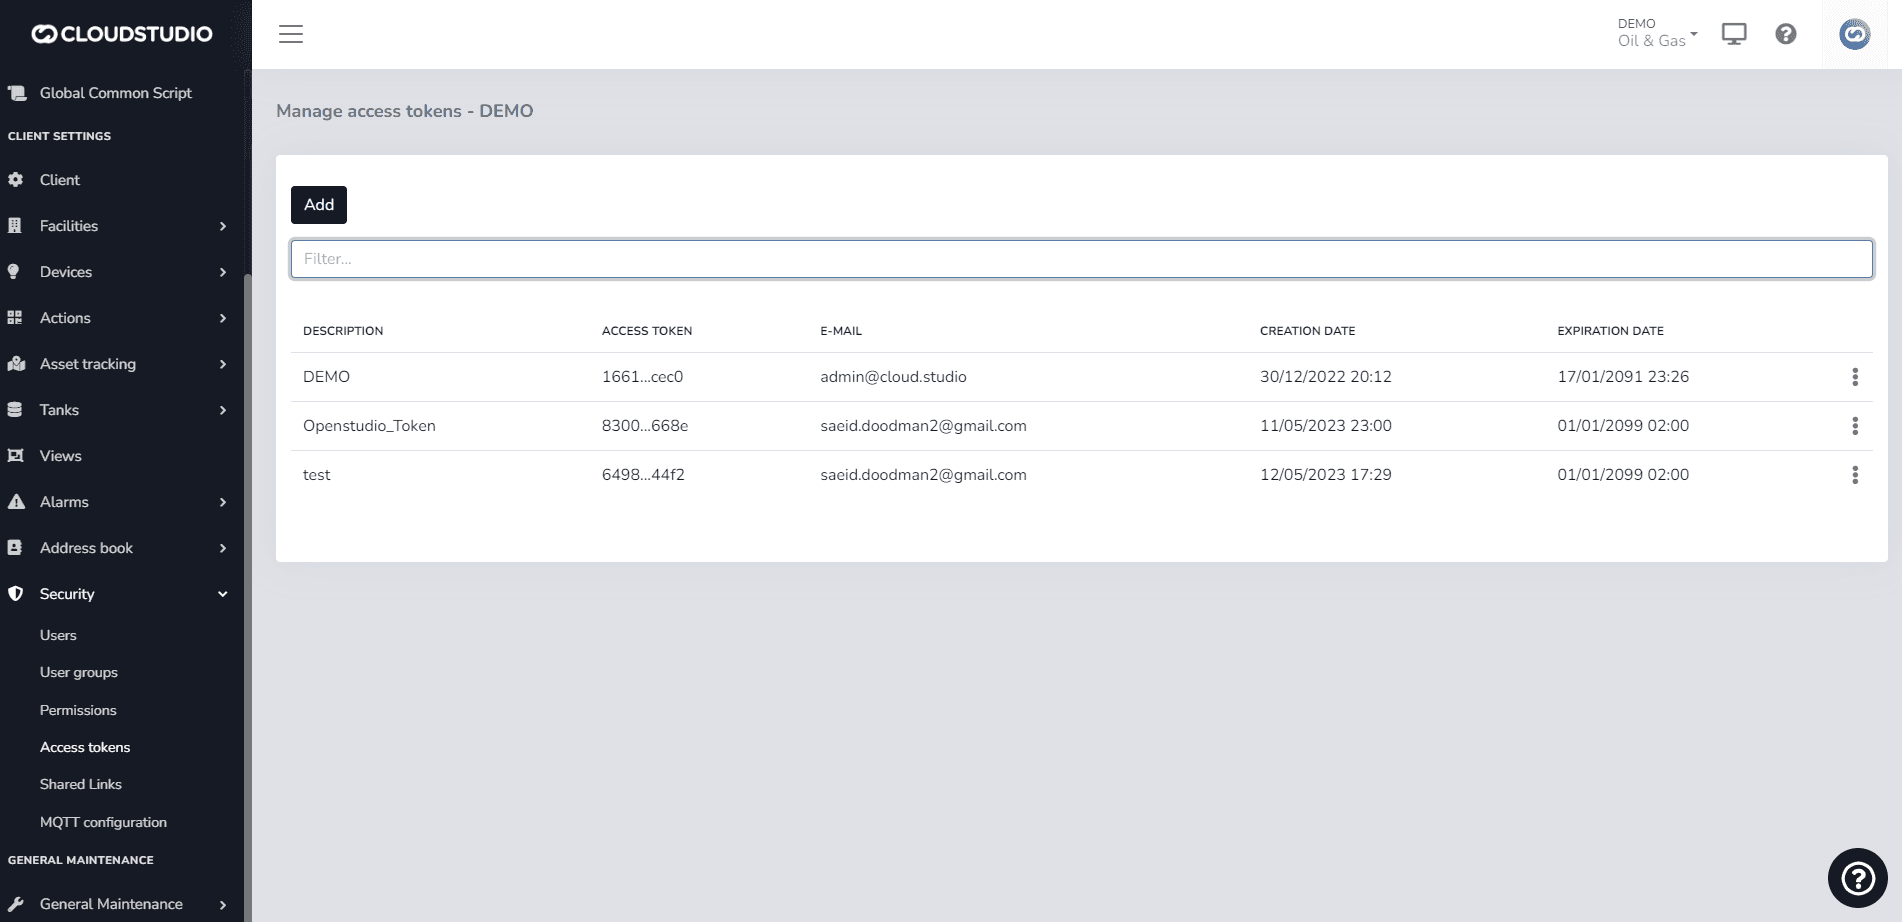
To generate an access token through the manager, navigate to the side menu and select access tokens. The manage access tokens - client window will appear, showing the list of tokens created for that client. Since no tokens have been created yet, press the add button to create a new token.
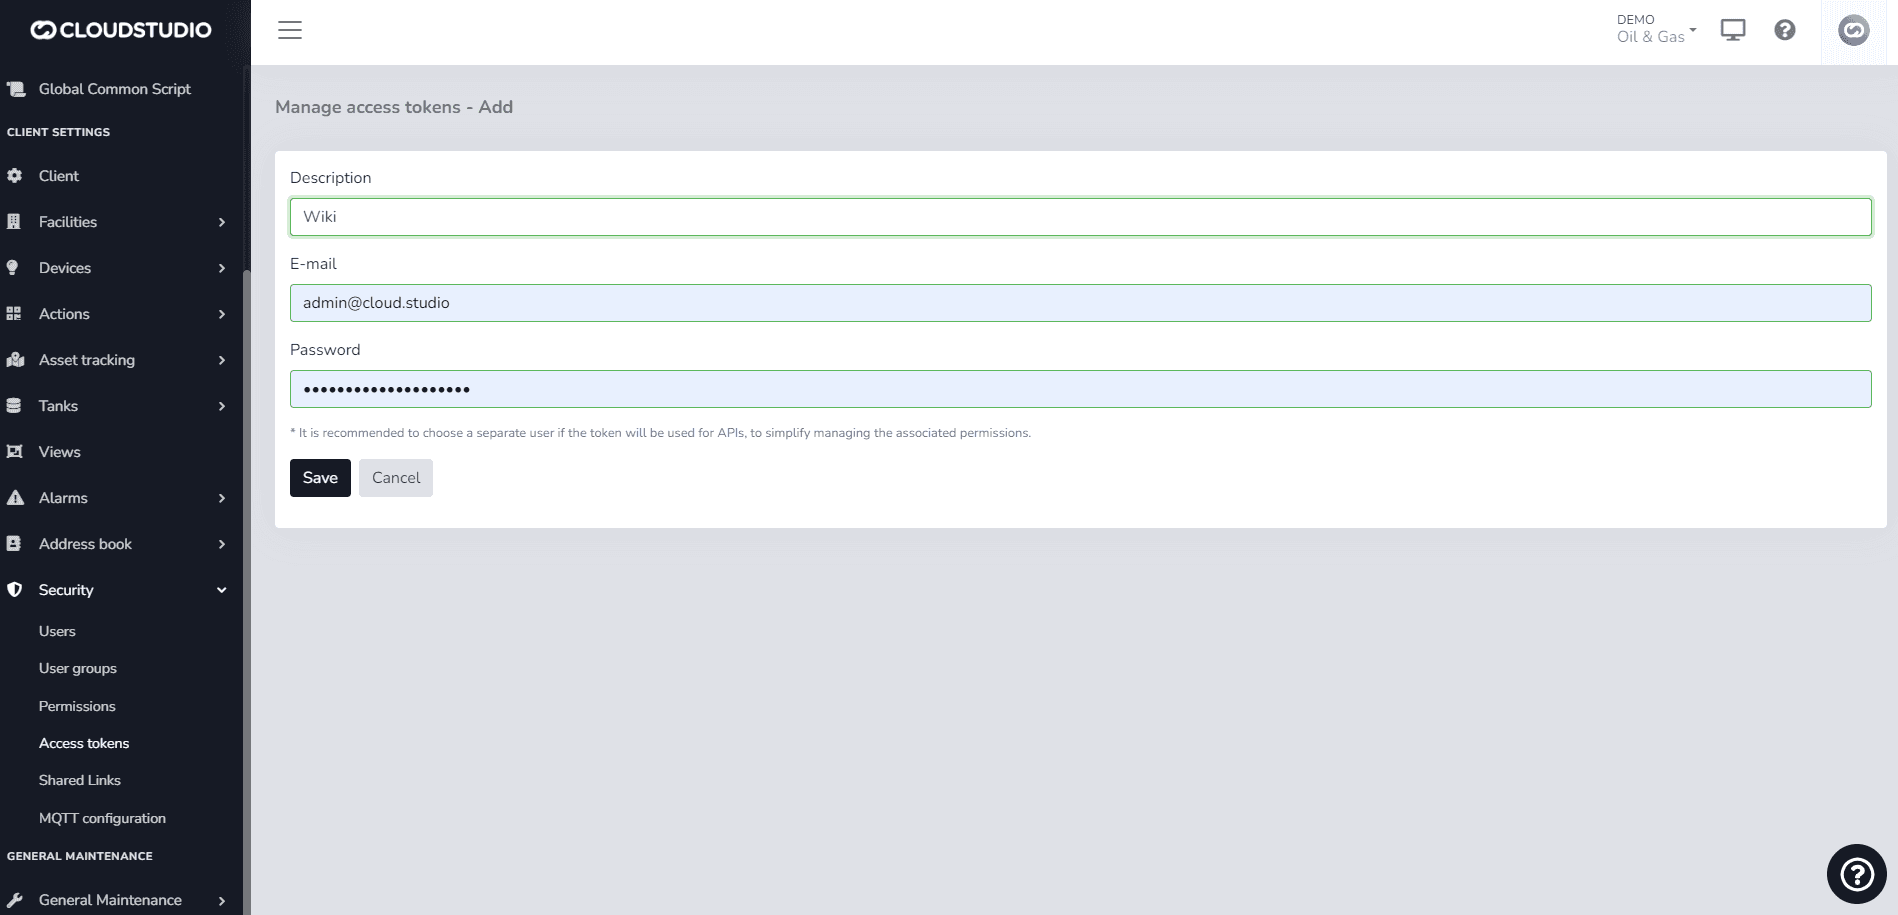
Once inside, fill in the Description field with the desired name. In the Email and Password fields, enter the credentials of your corresponding user, then press Save.
To manage token permissions in a more granular way, it is recommended to create a user exclusively for API usage, or even a different user for each token created.
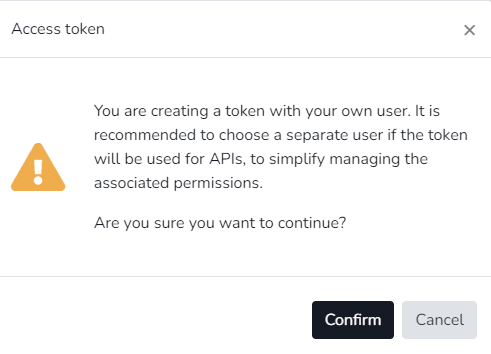
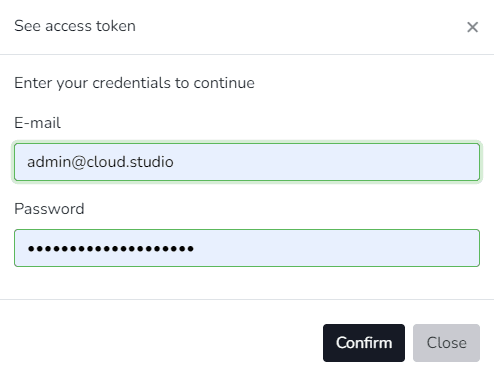
A confirmation dialog will then appear asking whether you want to create the token with the current username and password. Press confirm.
Once confirmed, the token will be generated. Press Back to return and view the details of the created token.
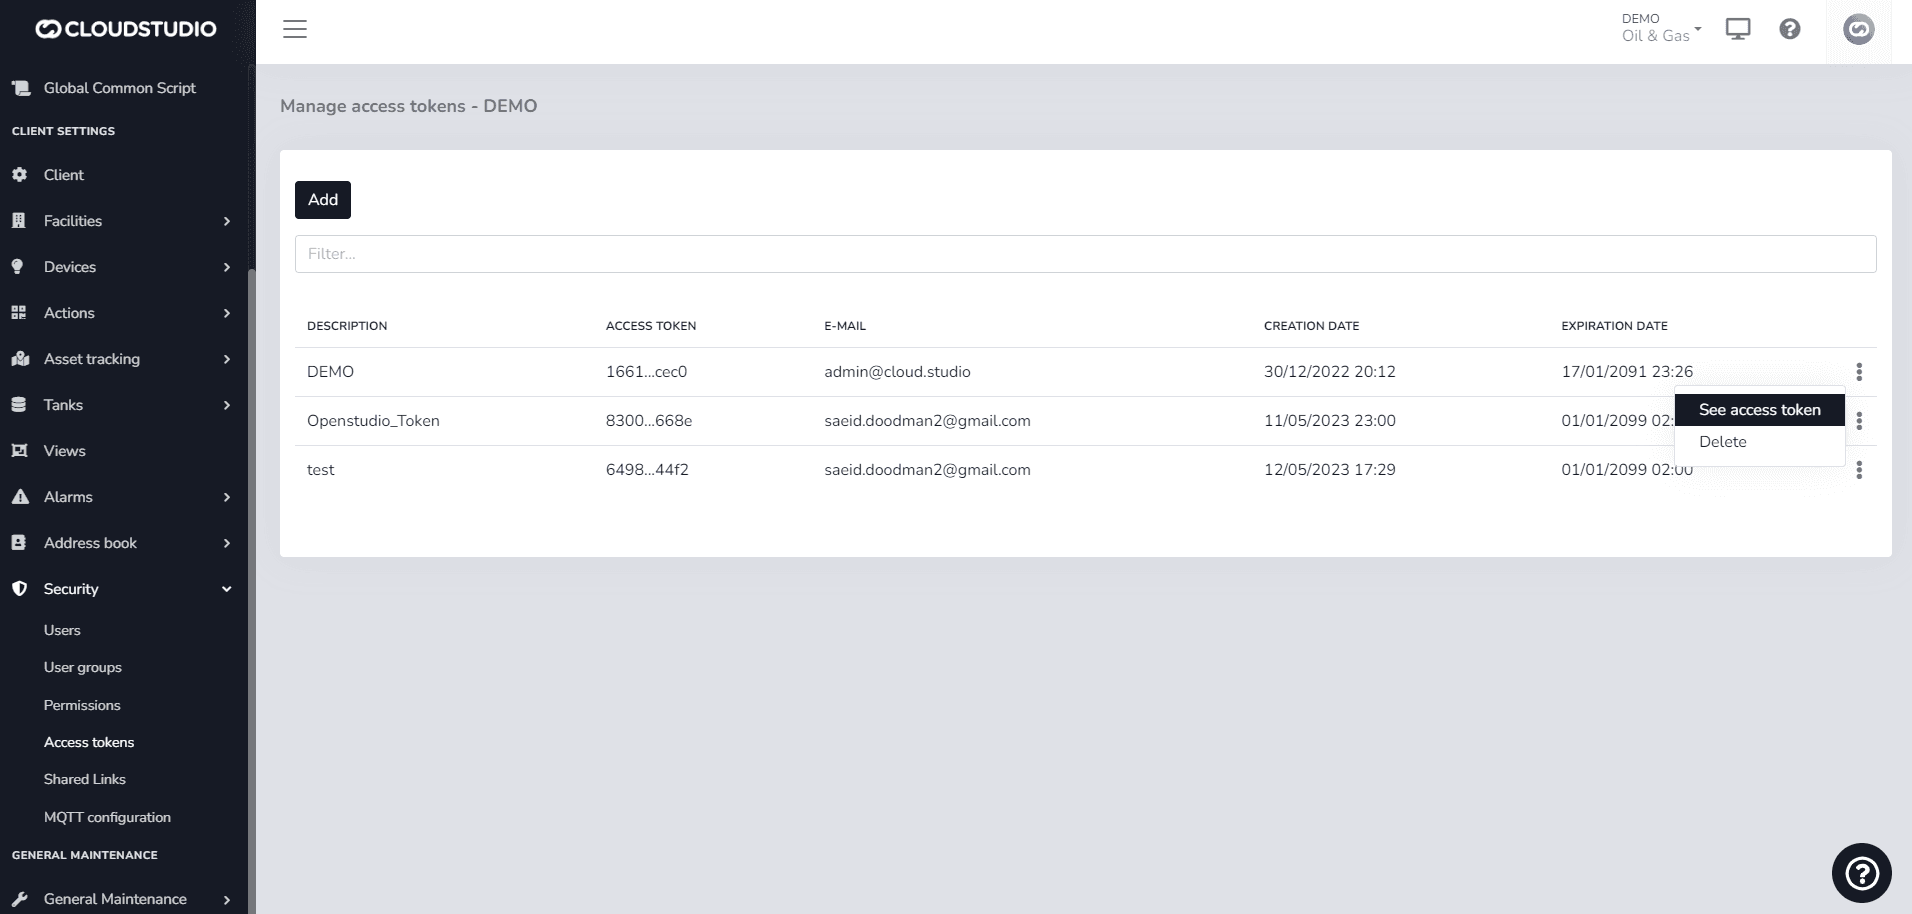
Select the added token and choose the View Token option.
Enter the username and password.
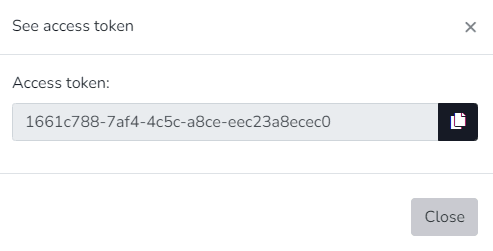
The token is displayed and can now be copied.
Última atualização em
Permissions
Cloud Studio has a permissions system that allows establishing, for each user or user group, the set of features they have access to. To access the permissions list, use the Manager permissions module...
General Maintenance
The General Maintenance section of the Settings module provides a set of diagnostic and monitoring tools that allow the administrator to obtain an overview of the instance's operational status.