

White Labeling
Introduction
The White Labeling feature gives users the ability to customize the platform, creating a unique usage experience that adapts to their brand identity. From this section, you can customize the logo in the menu, reports, notifications, and login screen. It also provides color palette selection, login screen background image, and chat and help page settings.
For situations where there is a need to customize the platform for different clients within the same instance, White Labeling is offered at two levels. The first level allows instance-level customization, and the second level provides the option to customize the experience for these users, whom we call clients.
Important note: The Client White Labeling feature is not included in all subscription plans. Contact our sales team for pricing and activation.
Instance-Level White Labeling
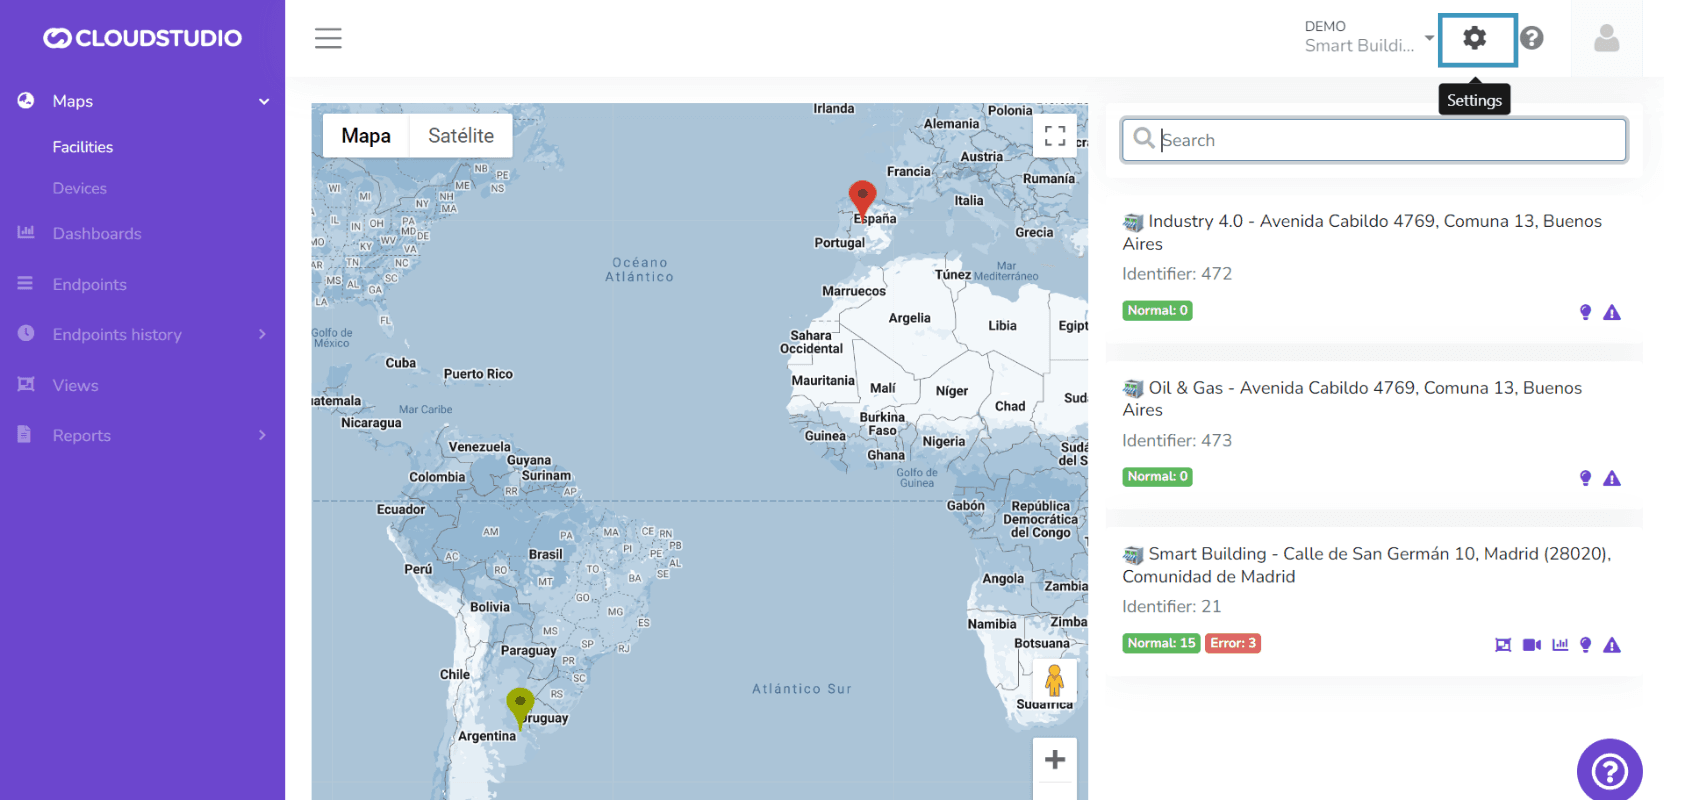
To start using the feature, go to Settings and in the Global Configuration menu select White Labeling:
Menu Logo
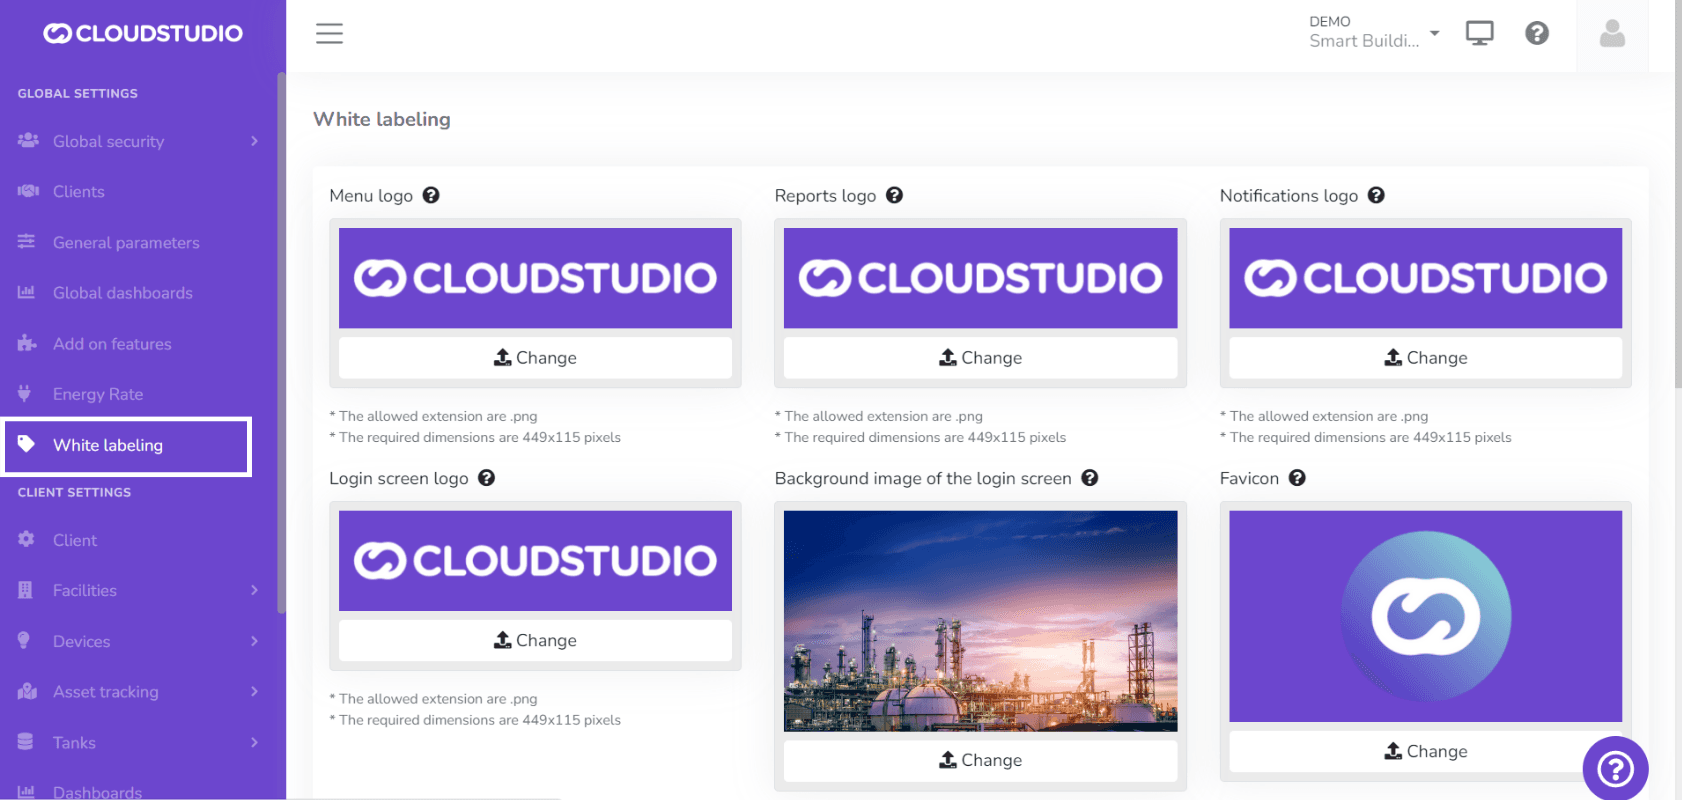
This option allows the user to modify the logo displayed in the platform menu.
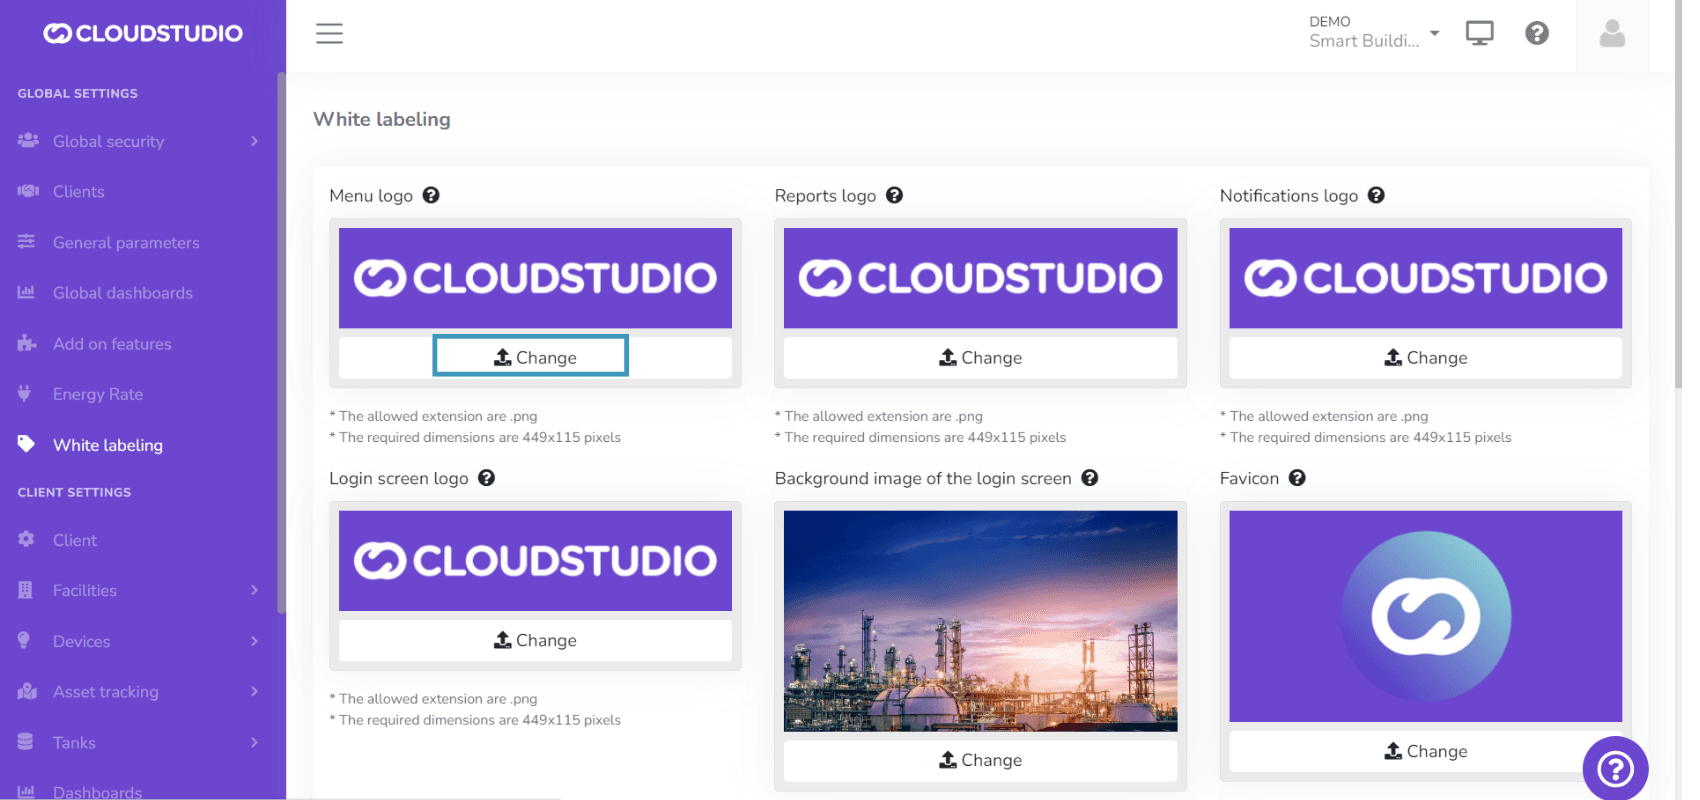
Press Change and then select the image file from your computer. For the changes to take effect on the platform, press Save at the bottom of the page.
Image requirements: * The allowed extension is .png * The required dimensions are 449x115 pixels
Reports Logo
This option is used to customize the logo that will appear in application reports when exported to PDF.
Press Change and then select the image file from your computer. For the changes to take effect on the platform, press Save at the bottom of the page.
Image requirements: * The allowed extension is .png * The required dimensions are 449x115 pixels
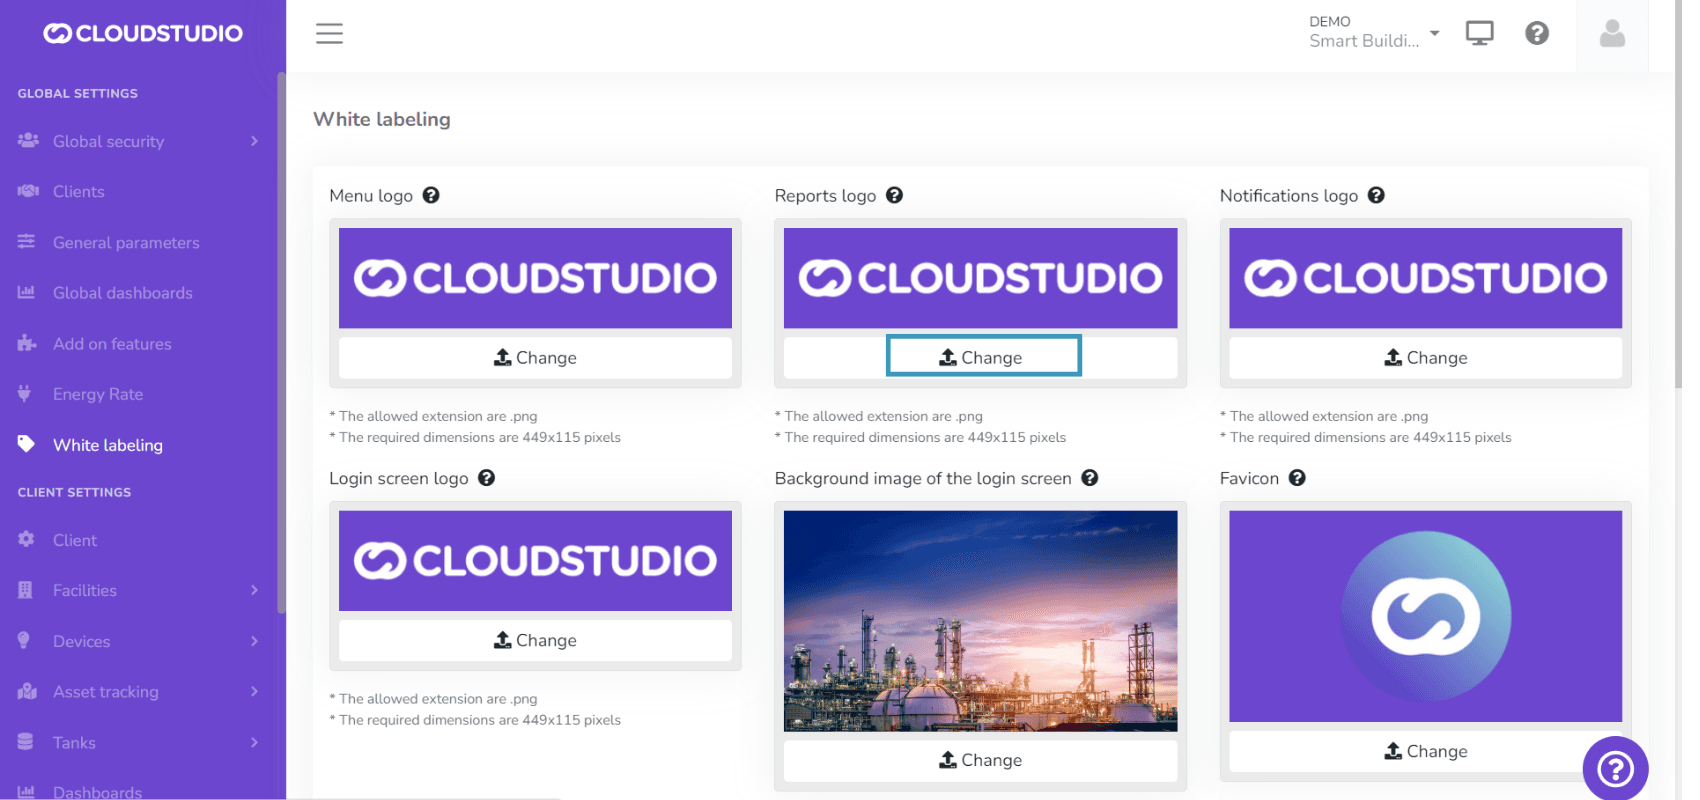
Notifications Logo
From this option, you can select the logo for email notifications.
Press Change and then select the image file from your computer. For the changes to take effect on the platform, press Save at the bottom of the page.
Image requirements: * The allowed extension is .png * The required dimensions are 449x115 pixels
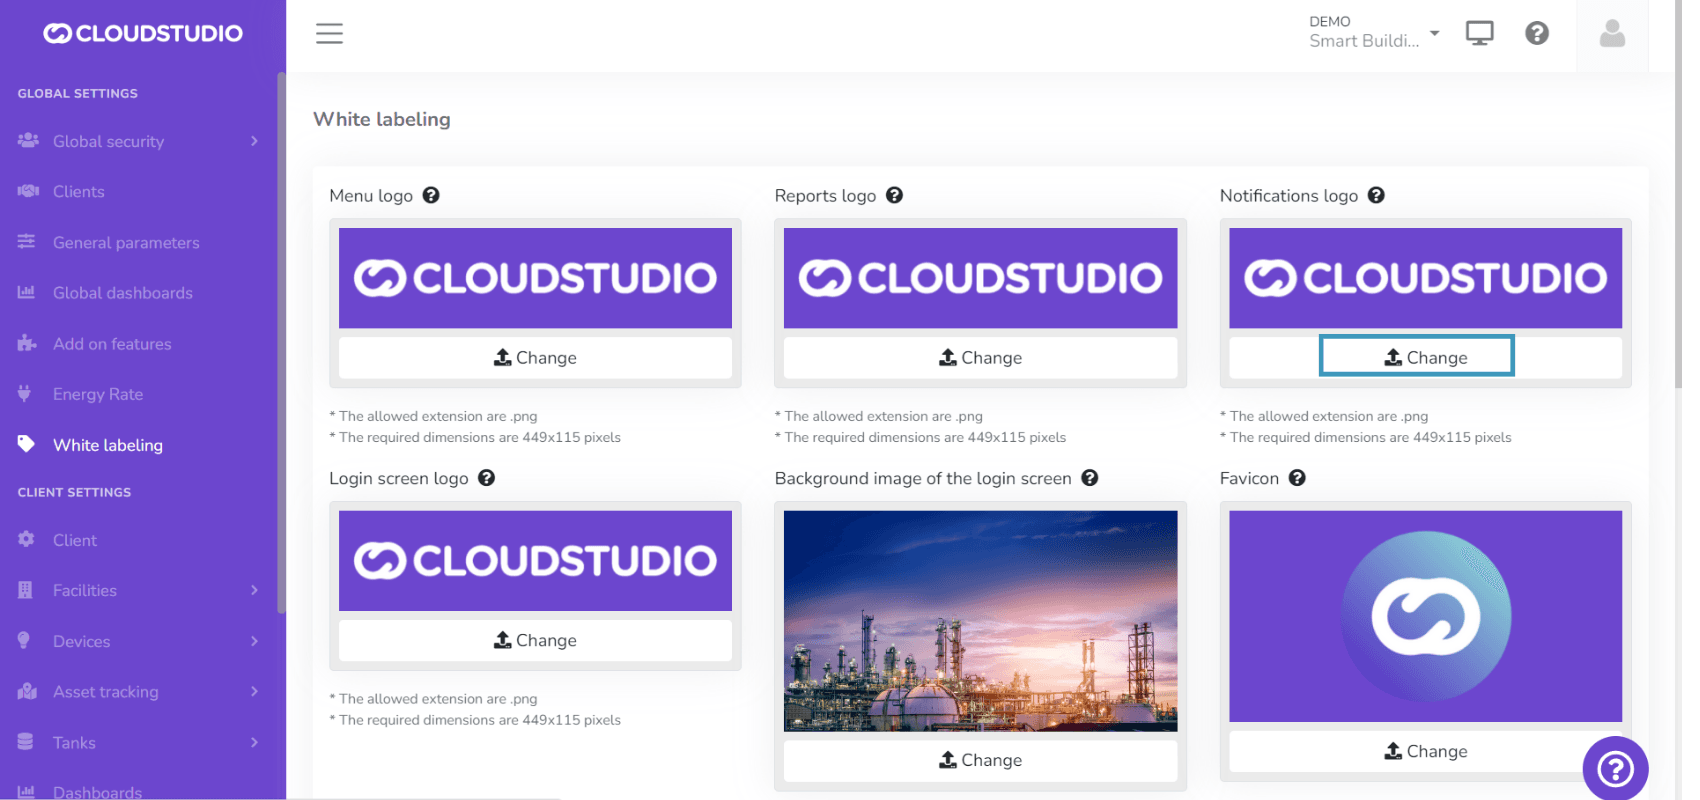
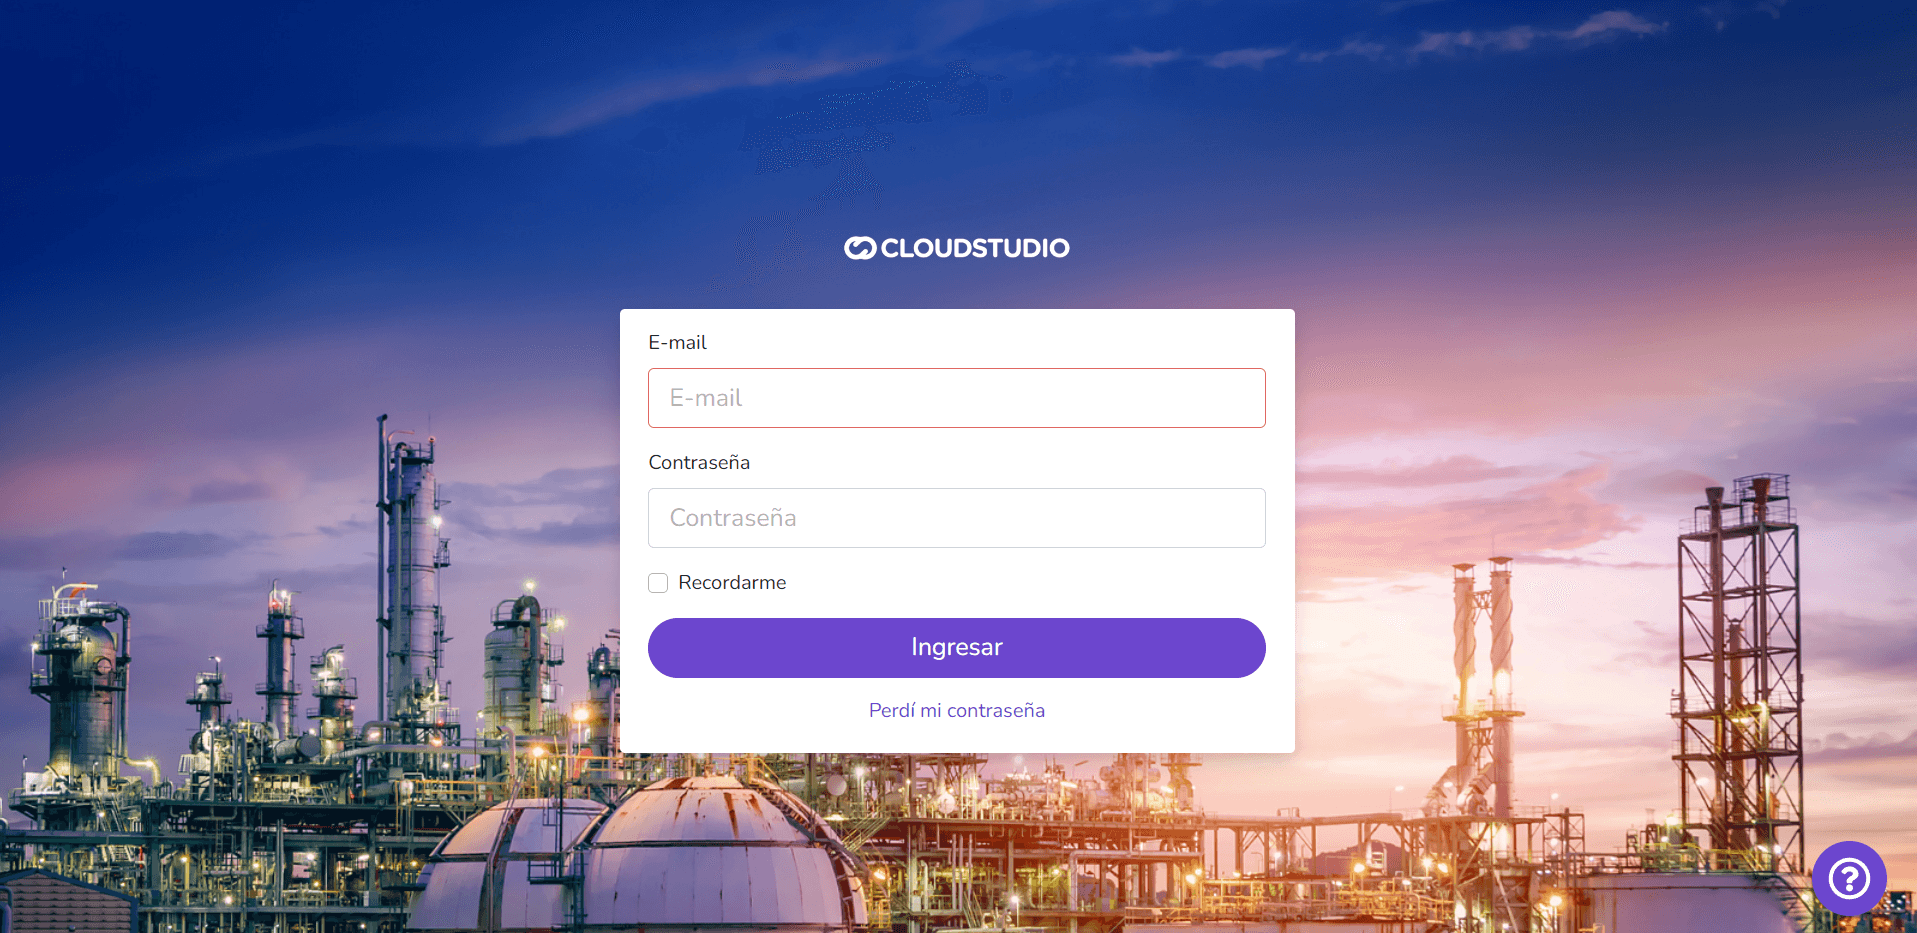
Login Screen Logo
This option allows customizing the logo on the platform's login screen.
Note: The login screen is the first screen displayed when accessing your instance's domain.
Press Change and then select the image file from your computer. For the changes to take effect on the platform, press Save at the bottom of the page.
Image requirements: * The allowed extension is .png * The required dimensions are 449x115 pixels
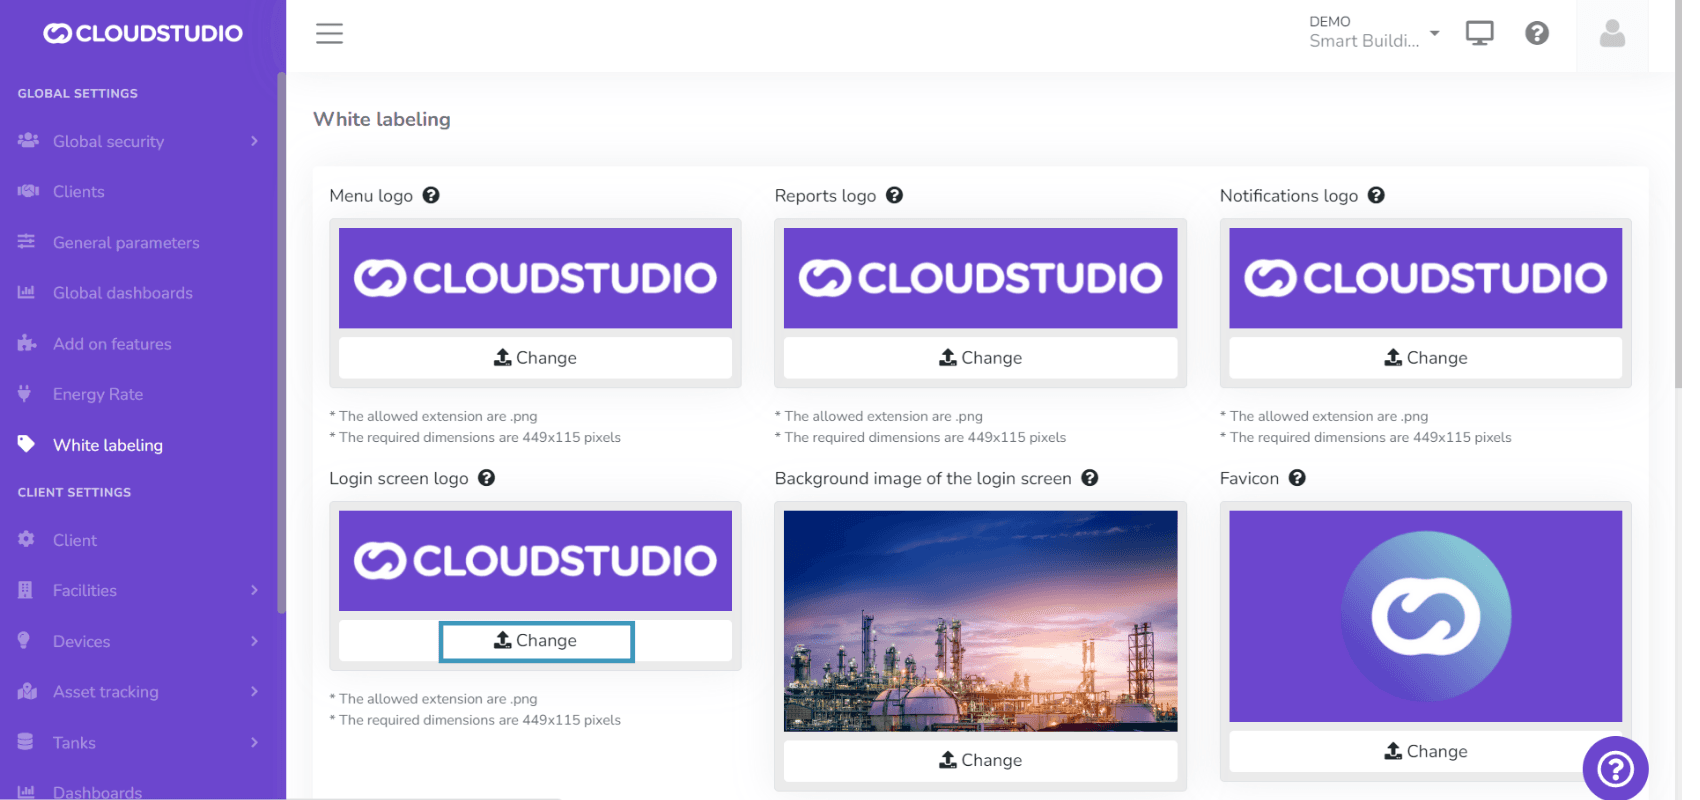
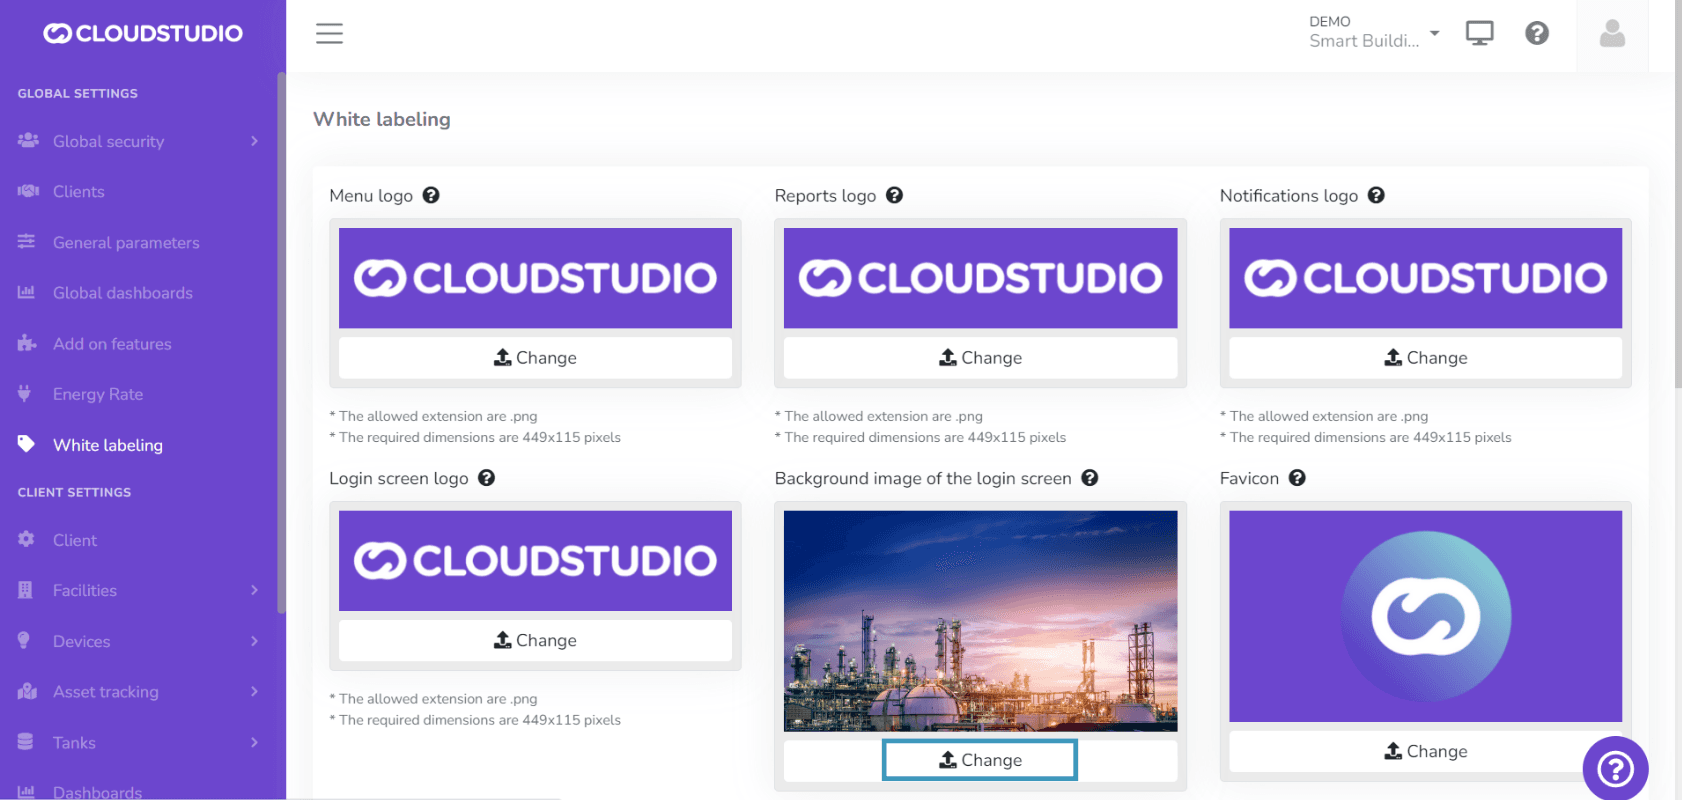
Login Screen Background Image
Allows setting a predefined background image on the login screen.
Press Change and then select the image file from your computer. For the changes to take effect on the platform, press Save at the bottom of the page.
Image requirements: * The allowed extension is .png * The required dimensions are 1600x900 pixels
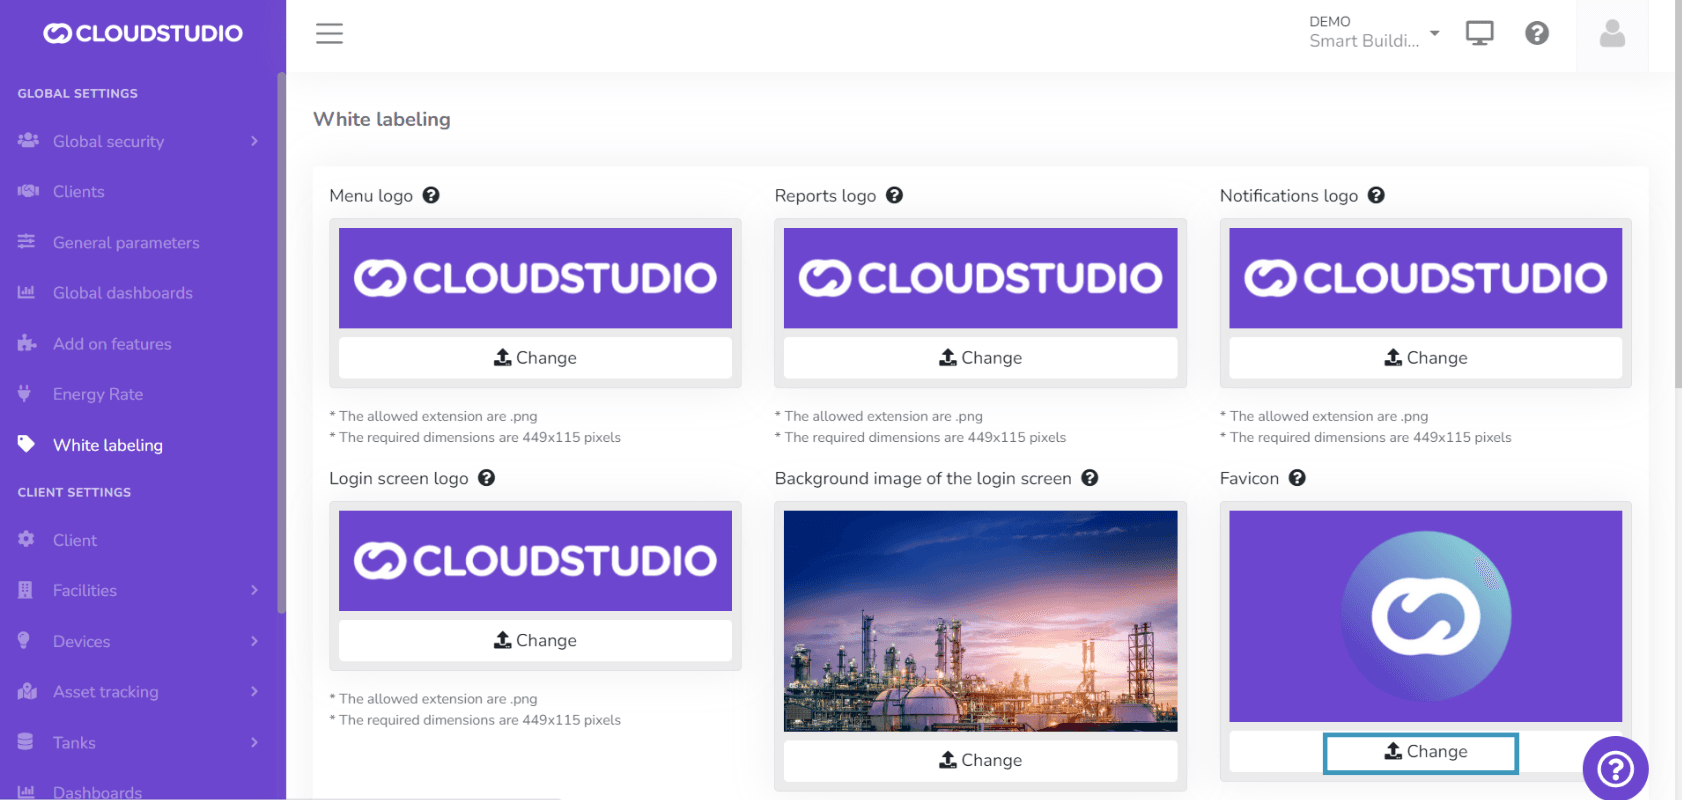
Favicon
This option allows customizing the logo associated with the platform's domain, displayed at the top of browser tabs.
Press Change and then select the image file from your computer. For the changes to take effect on the platform, press Save at the bottom of the page.
Image requirements: * The allowed extension is .png * The required dimensions are 192x192 pixels
Color Configuration
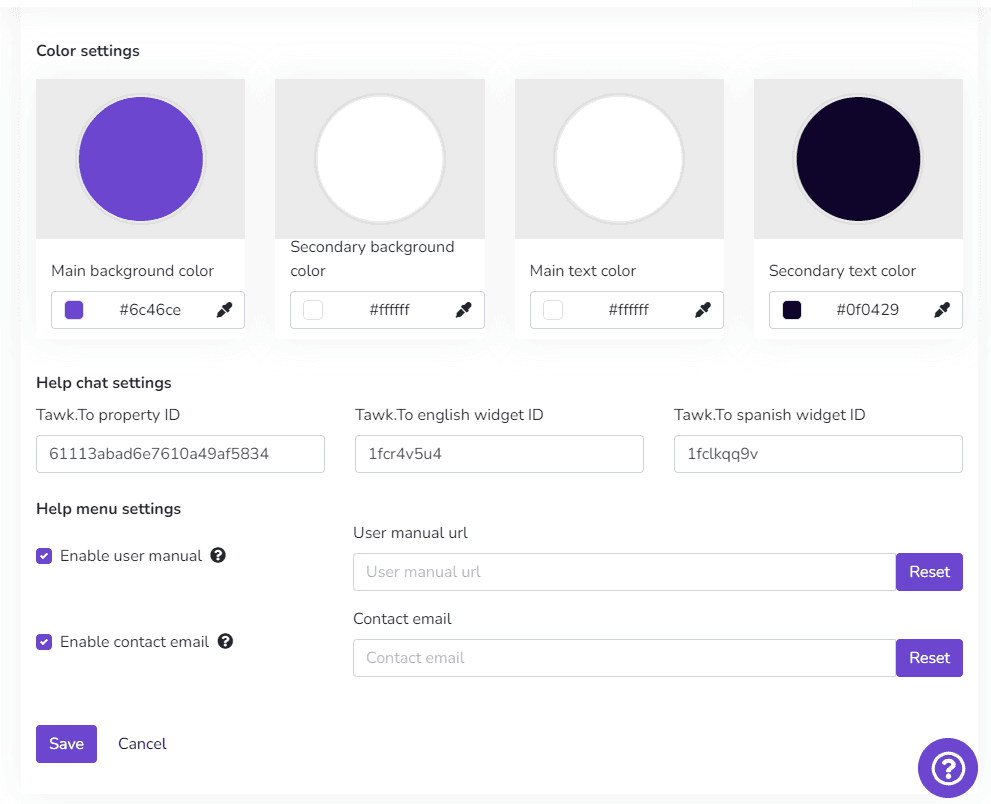
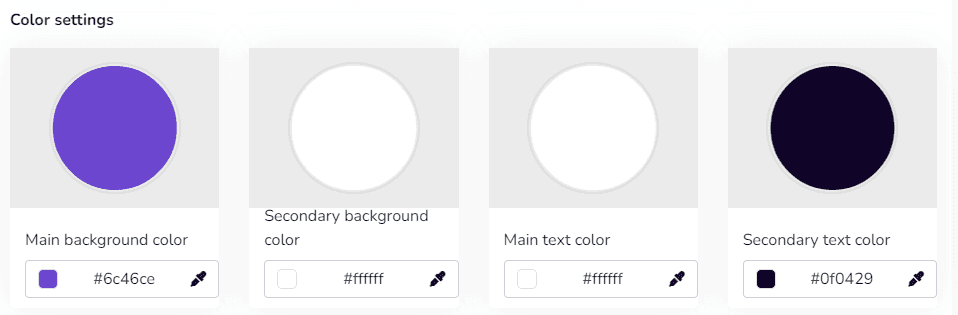
This option provides color palette selection for the platform. Two colors can be chosen: a primary color and a secondary color. For example, the primary color is displayed as the menu background, and the secondary color is displayed on menu icons and text. Similarly, it allows modifying the primary text color and the secondary color displayed on platform button text.
The platform includes a hexadecimal color picker, making it possible to configure any color as needed.
User Support Chat Tool
In this option, the user can configure the appearance, availability, and options of the application's help chat.

Note: It is important to highlight that this feature allows configuring the Tawk.to plugin, so having a previously created Tawk.to account is an essential requirement. This way, the user can create their own plugin application and, with the chat owner's ID, replace it to view it in both English and Spanish. The colors and texts customized by the user from Tawk.to will also be displayed there. When the user does not enter their own data, the user support button will not be visible.
Help Menu Configuration
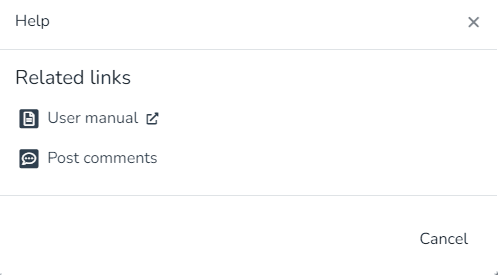
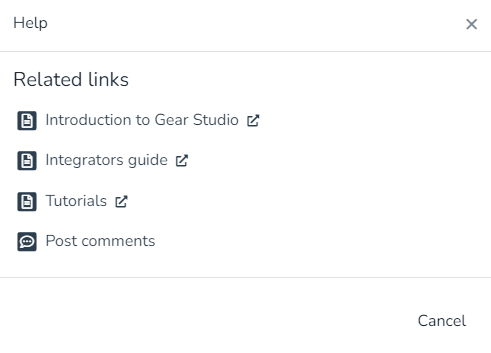
In this option, you can customize the help menu. You can set a contact email and a destination URL that the instance owner wants to define with the platform's user manual. You can also choose to Disable these options or Reset them.

Help Menu Considerations
User manual:
This field allows the user to show or hide the application's user manual as appropriate.
- If disabled, no option will be shown in the help menu.
- If a URL is entered, the "User manual" option will appear and will redirect to the entered URL;
- If reset, the URL will be cleared and the default help menu will be shown ("Introduction to Gear Studio", "Integrator's Guide", "User Manual", "Deployments", etc.).
Contact email:
This field allows the user to show or hide the contact email option as appropriate.
- If disabled, no option will be shown in the help menu.
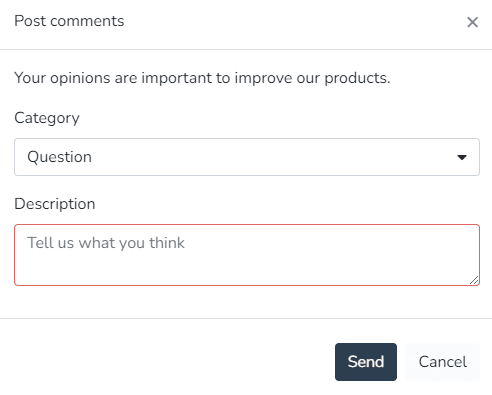
- If an email is entered, the "Send feedback" option will appear, and user submissions will be sent to the email address entered in the help menu.
- If reset, the "Send feedback" option will be shown, sending emails to the support inbox.
White Labeling - Client Level
This advanced White Labeling feature enables platform customization for different clients within the same instance.
Important note: The Client White Labeling feature is not included in all subscription plans. Contact our sales team for pricing and activation.
To access platform customization for clients, select Client in the Client Configuration menu and find the White Labeling option.

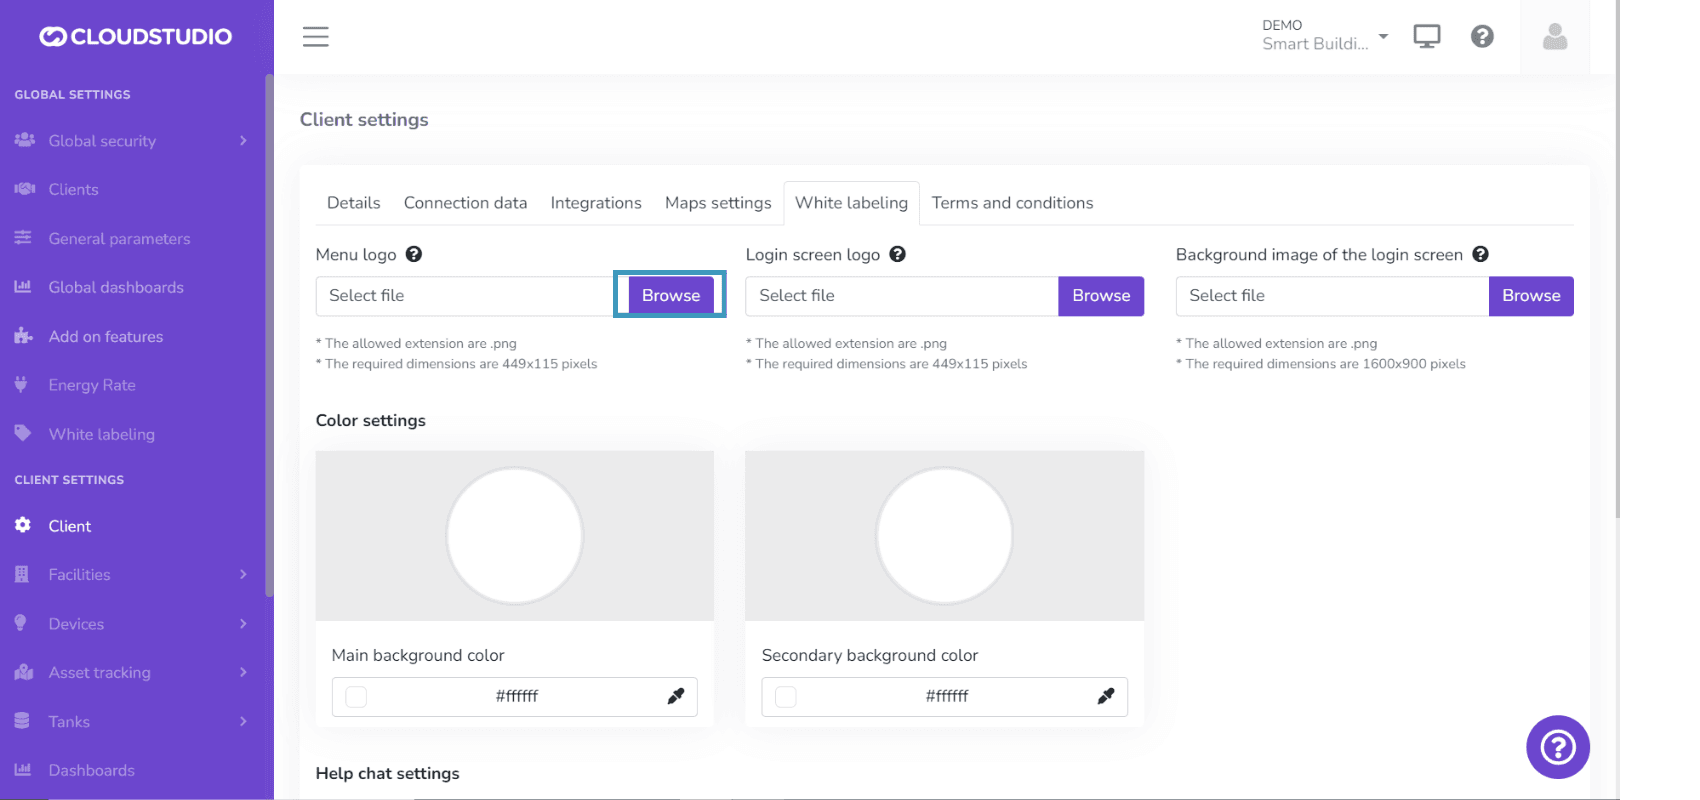
Menu Logo
This option allows the user to modify the logo displayed in the platform menu.
Press Change and then select the image file from your computer. For the changes to take effect on the platform, press Save at the bottom of the page.
Image requirements: * The allowed extension is .png * The required dimensions are 449x115 pixels
Login Screen Logo
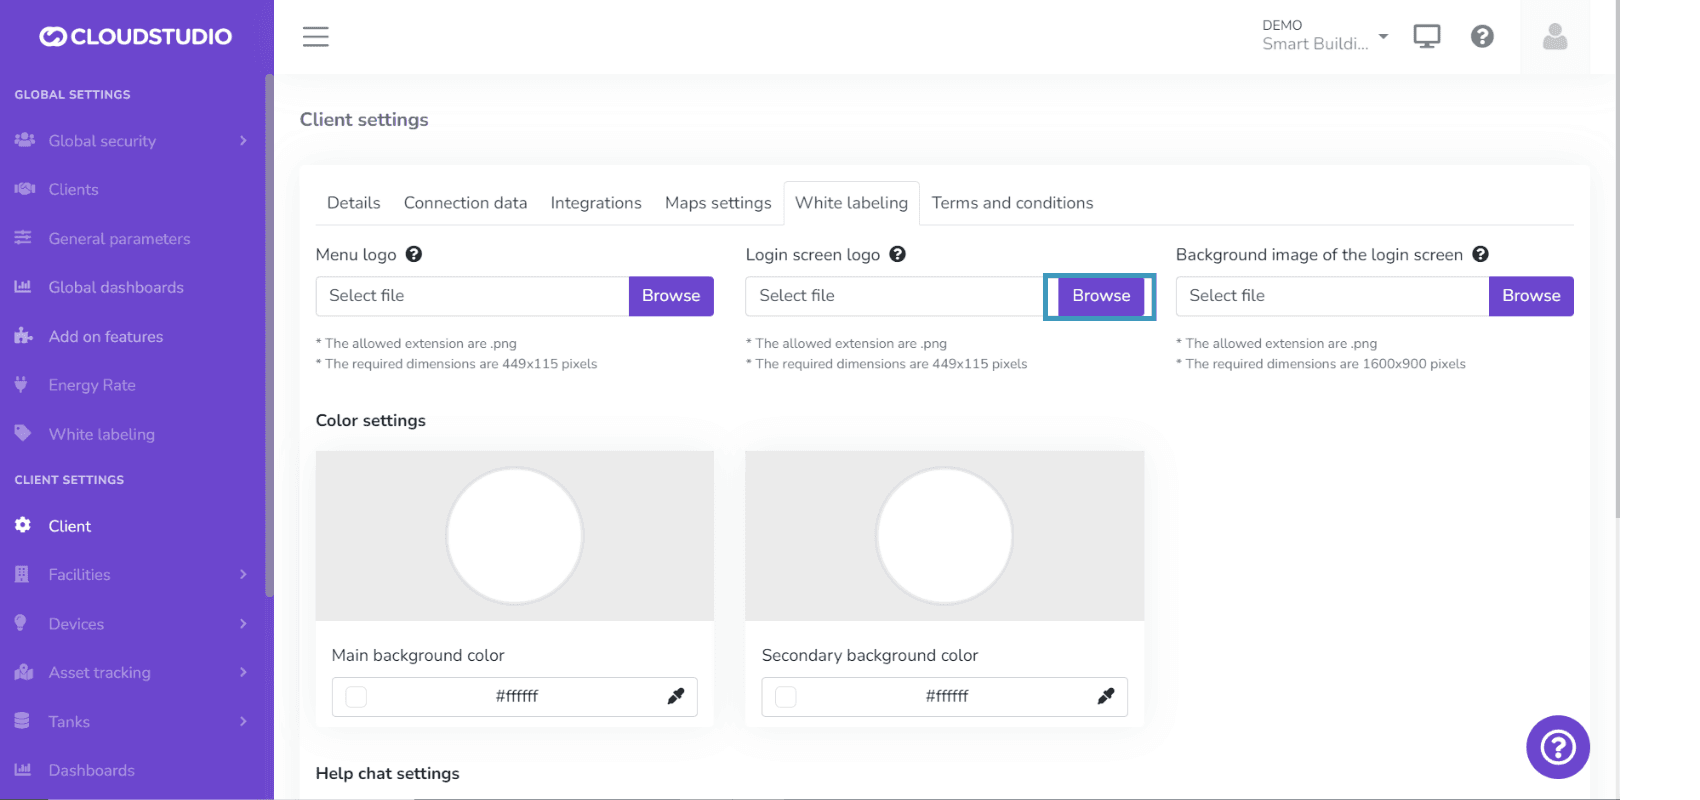
This option allows customizing the logo on the platform's login screen.
Press Change and then select the image file from your computer. For the changes to take effect on the platform, press Save at the bottom of the page.
Image requirements: * The allowed extension is .png * The required dimensions are 449x115 pixels
Login Screen Background Image
Allows setting a predefined background image on the login screen.
Press Change and then select the image file from your computer. For the changes to take effect on the platform, press Save at the bottom of the page.
Image requirements: * The allowed extension is .png * The required dimensions are 1600x900 pixels
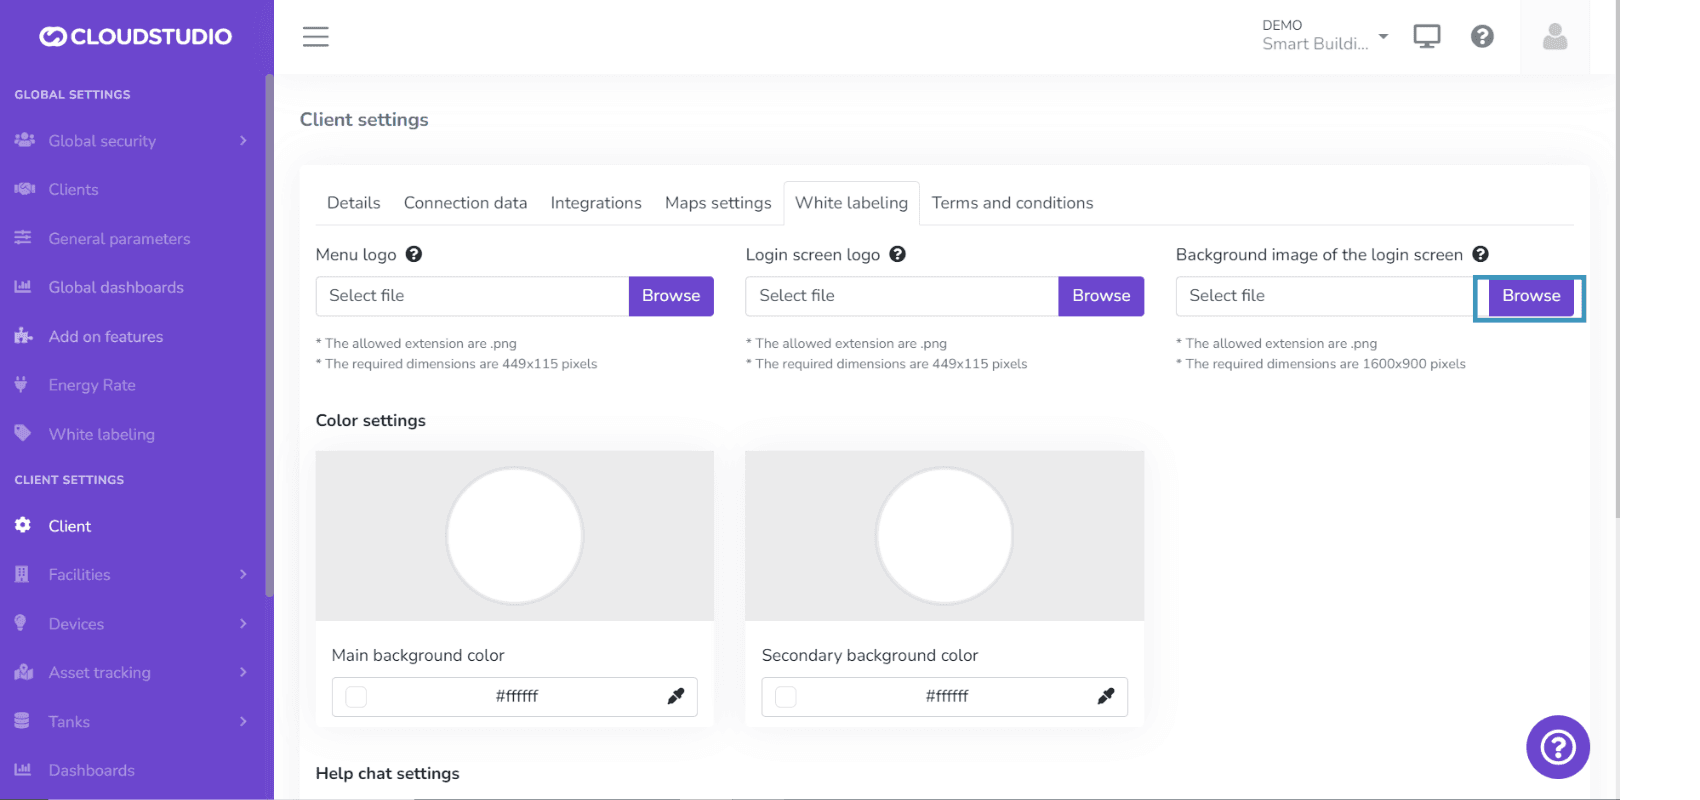
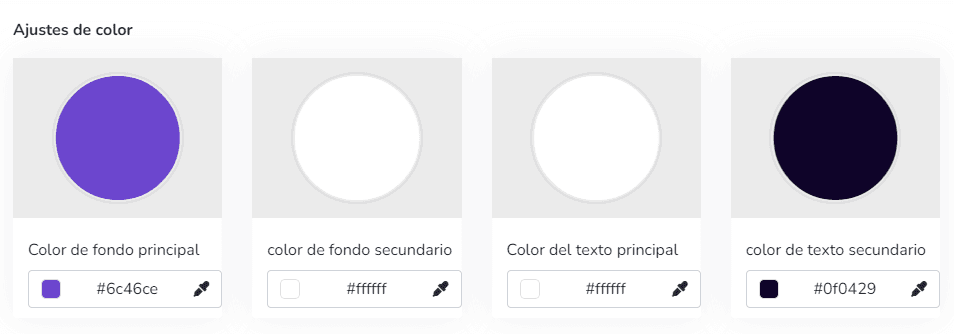
Color Configuration
This option provides color palette selection for the platform. Two colors can be chosen: a primary color and a secondary color. For example, the primary color is displayed as the menu background, and the secondary color is displayed on menu icons and text. Similarly, it allows modifying the primary text color and the secondary color displayed on platform button text.
The platform includes a hexadecimal color picker, making it possible to configure any color as needed.
User Support
In this option, the user can configure the appearance, availability, and options of the application's help chat.
Note: It is important to remember that the plugin configuration is customizable so the user can create their own plugin application and, with the chat owner's ID, replace it to view it in both English and Spanish. The colors and texts customized by the user from Tawk.to will also be displayed there. When the user does not enter their own data, the user support button will not be visible.
Help Menu Configuration
In this option, you can customize the help menu. You can set a contact email and a custom URL for the user manual. You can also choose to Disable these options or Reset them.
Help Menu Considerations
User manual:
This field allows the user to show or hide the application's user manual as appropriate.
- If disabled, no option will be shown in the help menu.
- If a URL is entered, the "User manual" option will appear and will redirect to the entered URL;
- If reset, the URL will be cleared and the default help menu will be shown ("Introduction to Gear Studio", "Integrator's Guide", "User Manual", "Deployments", etc.).
Contact email:
This field allows the user to show or hide the contact email option as appropriate.
- If disabled, no option will be shown in the help menu.
- If an email is entered, the "Send feedback" option will appear, and user submissions will be sent to the email address entered in the help menu.
- If reset, the "Send feedback" option will be shown, sending emails to the support inbox.
White Labeling: Enable and Disable
The options to enable and disable Instance White Labeling and Client White Labeling are visible only to platform administrator users. This feature can be enabled from the Additional Features section, located in the Global Configuration menu.

If Instance White Labeling is disabled, an icon will appear next to its name in the menu and when entering the section.
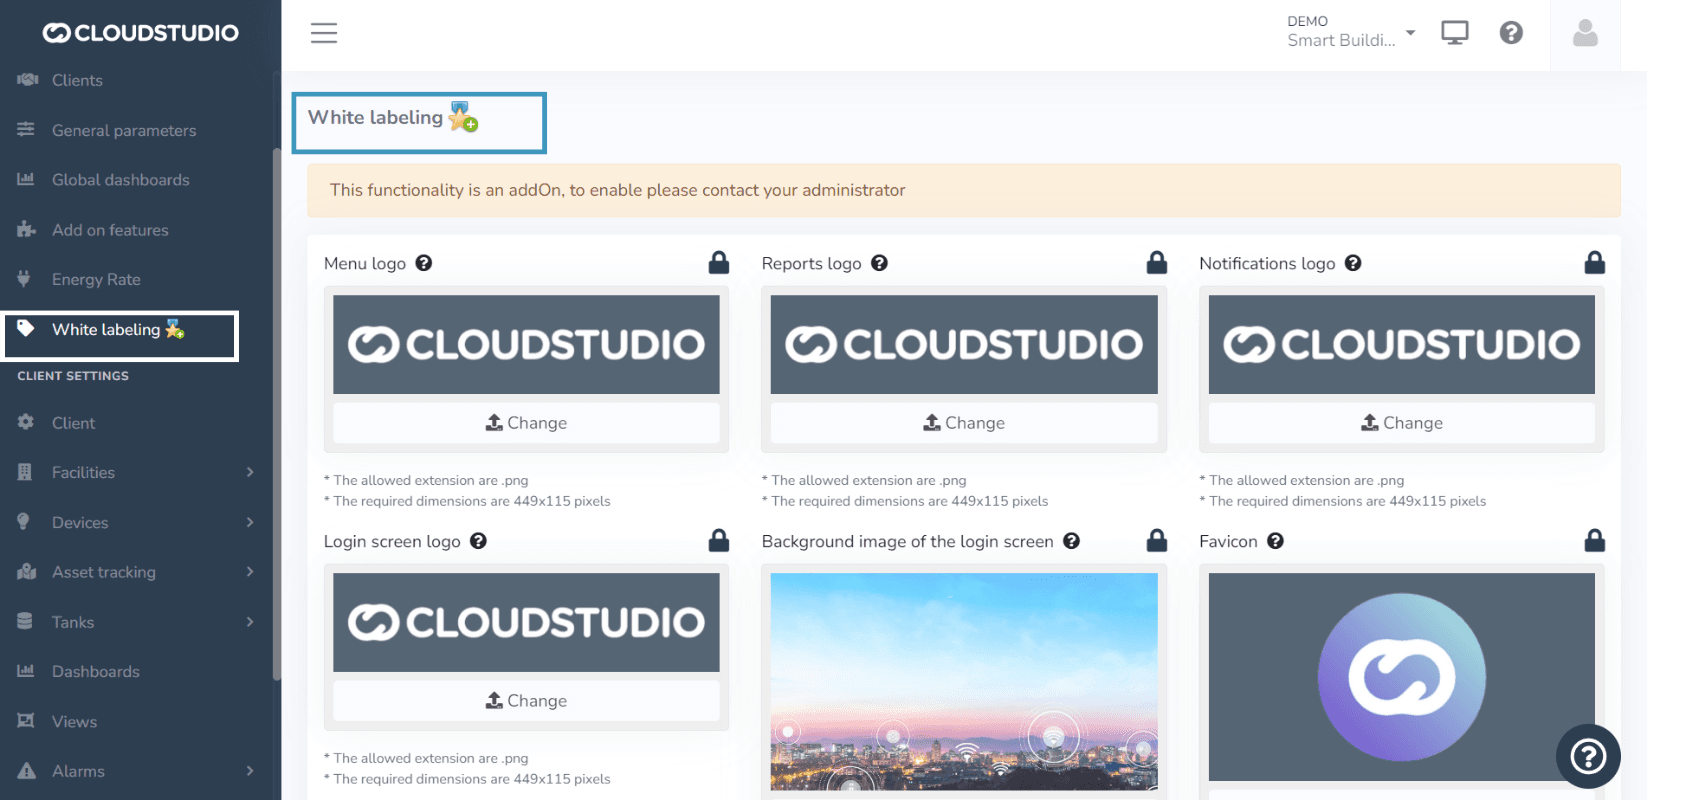
Notes: _ If Instance White Labeling is disabled, it will not be possible to enable Client White Labeling. Instance White Labeling must be enabled first. _ If Instance White Labeling is not enabled, the platform will display default colors, logos, and images corresponding to the Cloud Studio brand.
Activation Request
When the option is not enabled, the user can request the administrator to enable it. This is communicated through the following message: This feature is an add-on. To enable it, contact your administrator.
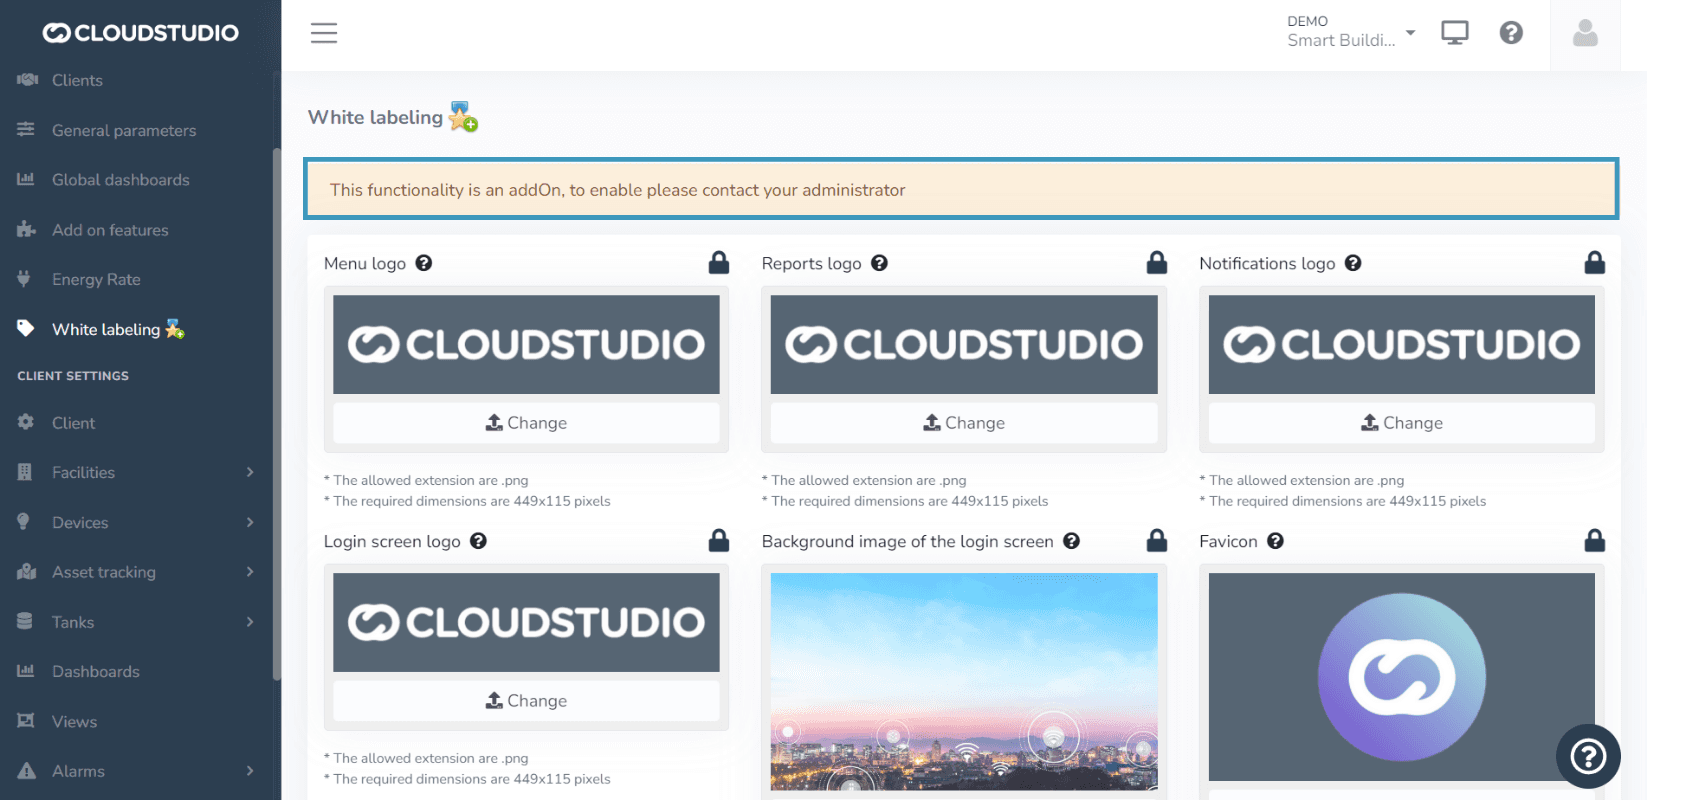
White Labeling Validation Message
Values configured at the Client White Labeling level will take priority and be maintained over those configured at the Instance White Labeling level. When a user wants to modify Instance White Labeling, they will be notified through an informational message that different options are configured at the client level. Similarly, if the client does not have client-level configurations applied, the platform will maintain the instance-level configurations.

Check out our tutorial on YouTube
White Labeling - User Level
Just as there is instance-level white labeling and client-level white labeling, each user can modify the logo, background colors, and text to adapt the interface to personal preferences, improving visibility and creating a more pleasant and appropriate environment for each user. These changes only apply to the active user's session and are not visible to other users.
Menu Logo
This option allows the user to modify the Logo displayed in the platform menu for the user who configured it, when logging in with that profile, while maintaining the look and feel configured at the Instance level for other users.
Press Change and then select the image file from your computer. For the changes to take effect on the platform, press Save at the bottom of the page.
Image requirements: * The allowed extension is .png * The required dimensions are 449x115 pixels
Última atualização em
Additional Features
Advanced features you can request to extend the platform, such as instance-level white labeling, and how to request them.
White Labeling - User Level
How each user can change the logo, background colors and text of the interface to suit them. Changes apply only to their own session.