Create a New Contact
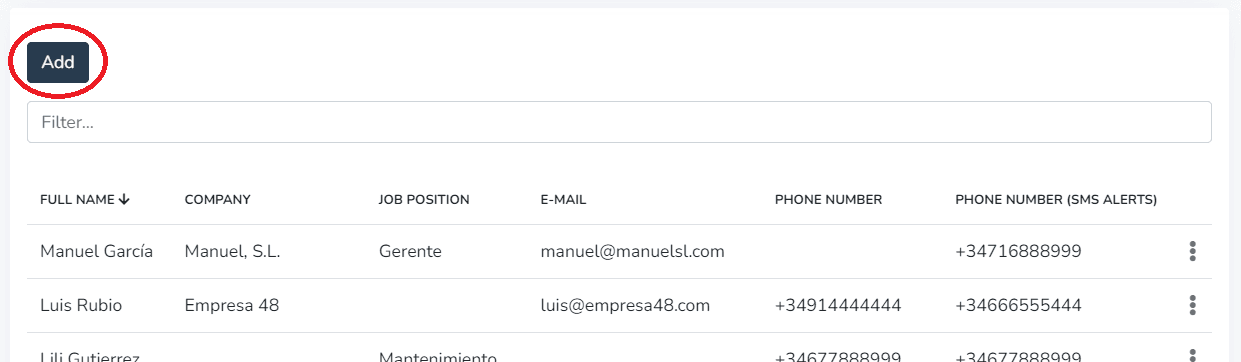
To create a new contact in the Address Book, simply click the "Add" button that appears on the contact creation screen.
It is also possible to add contacts with the text box filter active. When clearing the characters typed in the text box, the added contact will appear in the list along with the rest of the existing contacts.
The Address Book allows including the following data in each record:
- Full name (required)
- Company
- Position
- Phone number
- Phone number for SMS notifications
1- In the Personal Information tab, the user can fill in the contact's personal details.

IMPORTANT: Do not leave required fields empty.
Once the desired data has been entered, keeping in mind that the "Full Name" field is required, click the "Save" button or press the "Enter" key on the keyboard to save the contact to your list.
2- In the Working Hours tab, the user can configure the time zone corresponding to the contact's location.
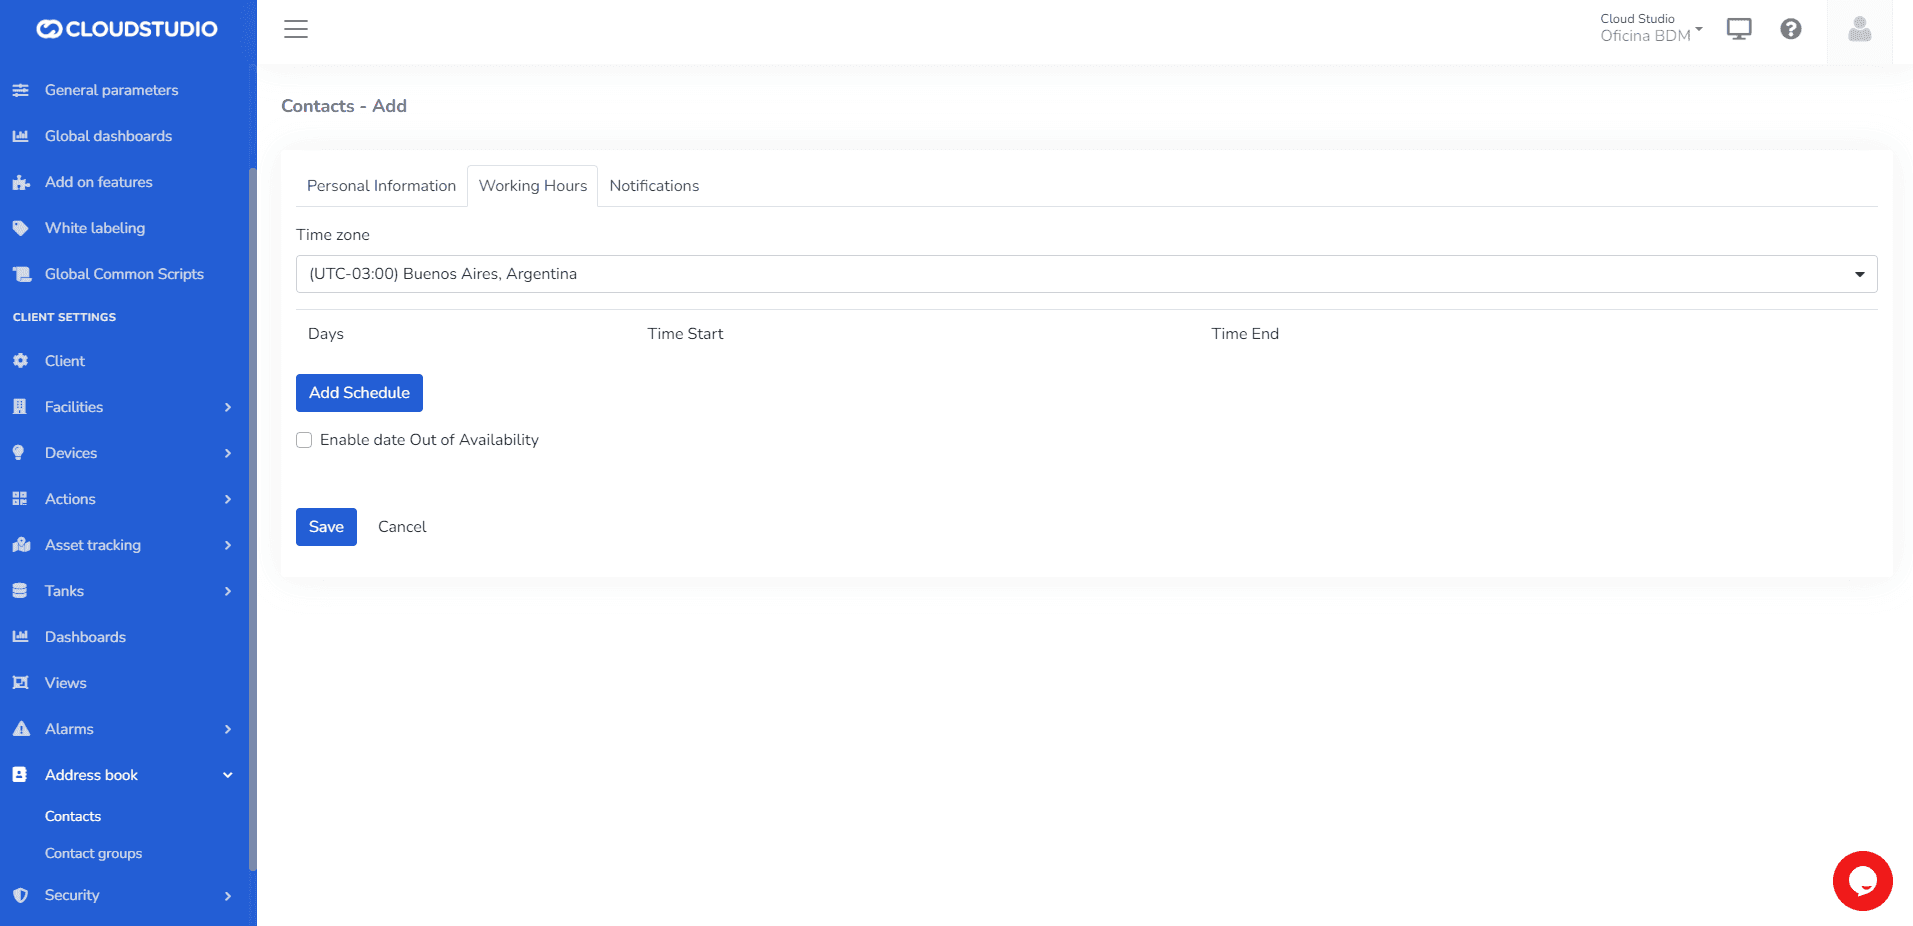
Then, set the days and time ranges during which they wish to receive alerts.
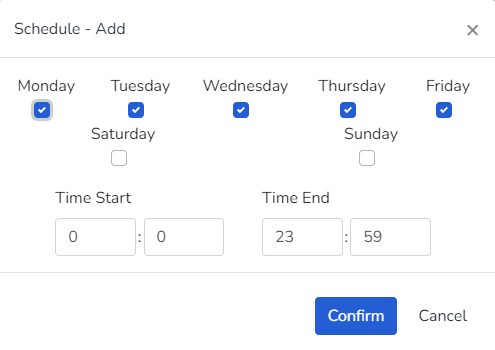
The user can edit or delete previously configured days.

The user can enable the "Enable out-of-availability date" option to indicate vacation or inactivity periods for the contact.

3- In the Notifications tab, the user can:
- Configure which device or devices to assign > Level

- Configure the severity of notifications to receive > Severity Level

- Configure the channels through which notifications will be sent > Channels

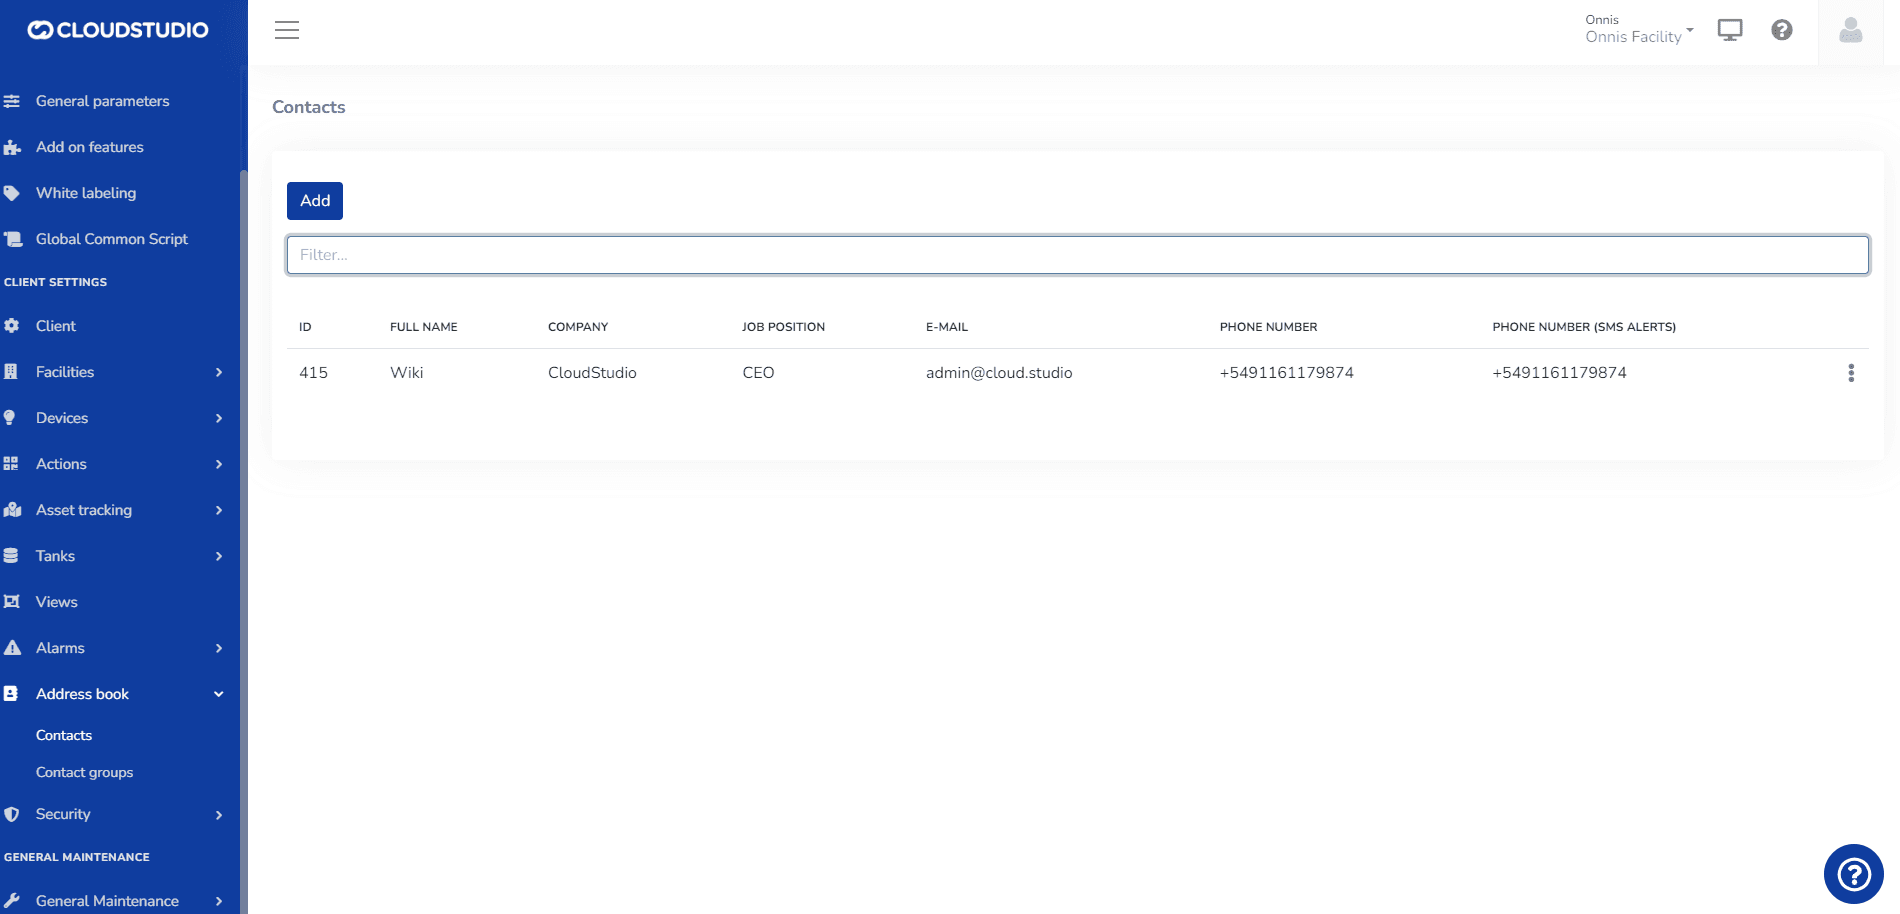
Below is an example of a generated contact.
More Information
Last updated on
Address Book
The Address Book is a list that centralizes contact information for notifications, including SMS, Email, and voice calls. For each contact, the Address Book allows including the following data...
Edit a Contact
To EDIT a contact in the address book, expand the three-dot menu that appears to the right of the contact to edit. This menu shows two options, Edit and Delete...