LORIOT
The integration with LORIOT enables the platform to have solid communication between a connectivity provider and a quality IoT Platform like Cloud Studio IoT.
Requirements
The integration is easy and only requires the following:
- An instance identifier. Depending on your Gear Studio subscription, the most common instance names are:
- gear.cloud.studio. This instance name corresponds to a common Gear Studio instance, including the free version.
- xxxx.cloud.studio. This instance name corresponds to Flex instances where hosting is provided by Cloud Studio, but the client can choose the subdomain used (xxxx).
- Other. For Enterprise clients using their own domain, the chosen domain name should be used.
- An Access Token. Data sent to the Cloud Studio IoT Gear platform from LORIOT will use this access token for access, and therefore LORIOT will have the permissions associated with this access token. It is recommended to create a new access token specifically for the LORIOT integration to simplify security control.
Configuration in LORIOT
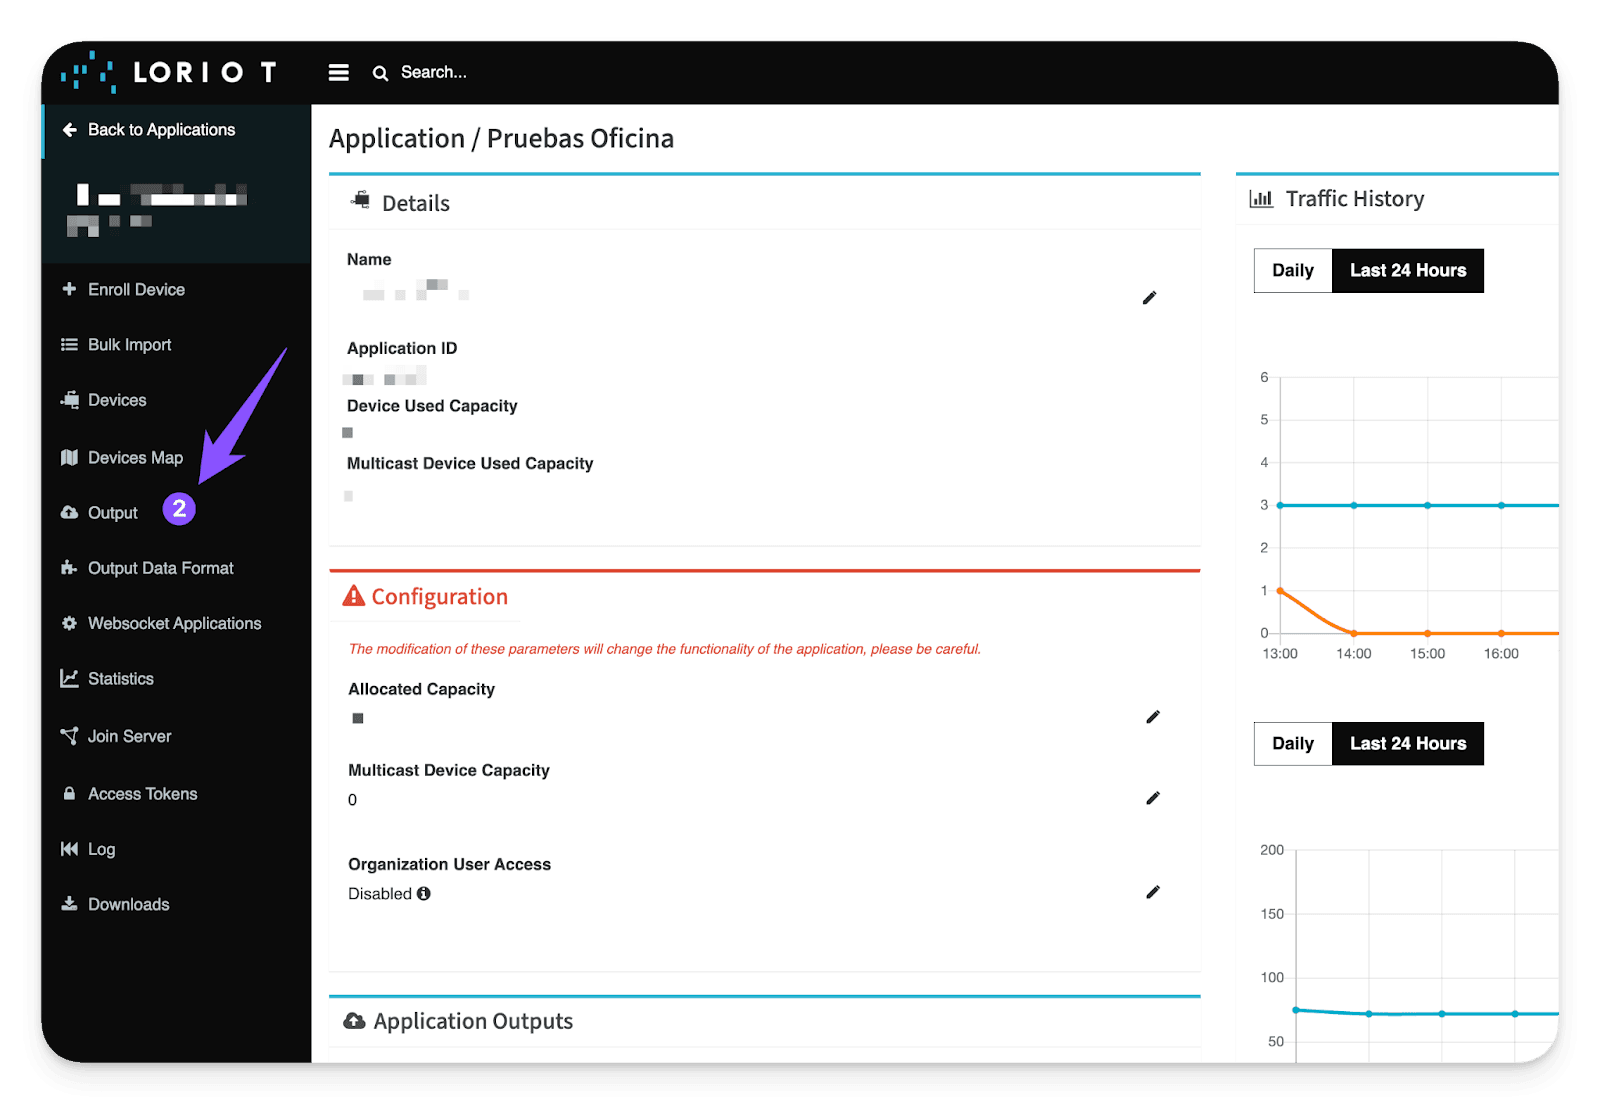
Once we have all the necessary permissions and requirements for the integration, it is time to create our first application in LORIOT. Log in and access with your credentials, then go to Applications:

Within Applications, go to Output: Applications -> Output
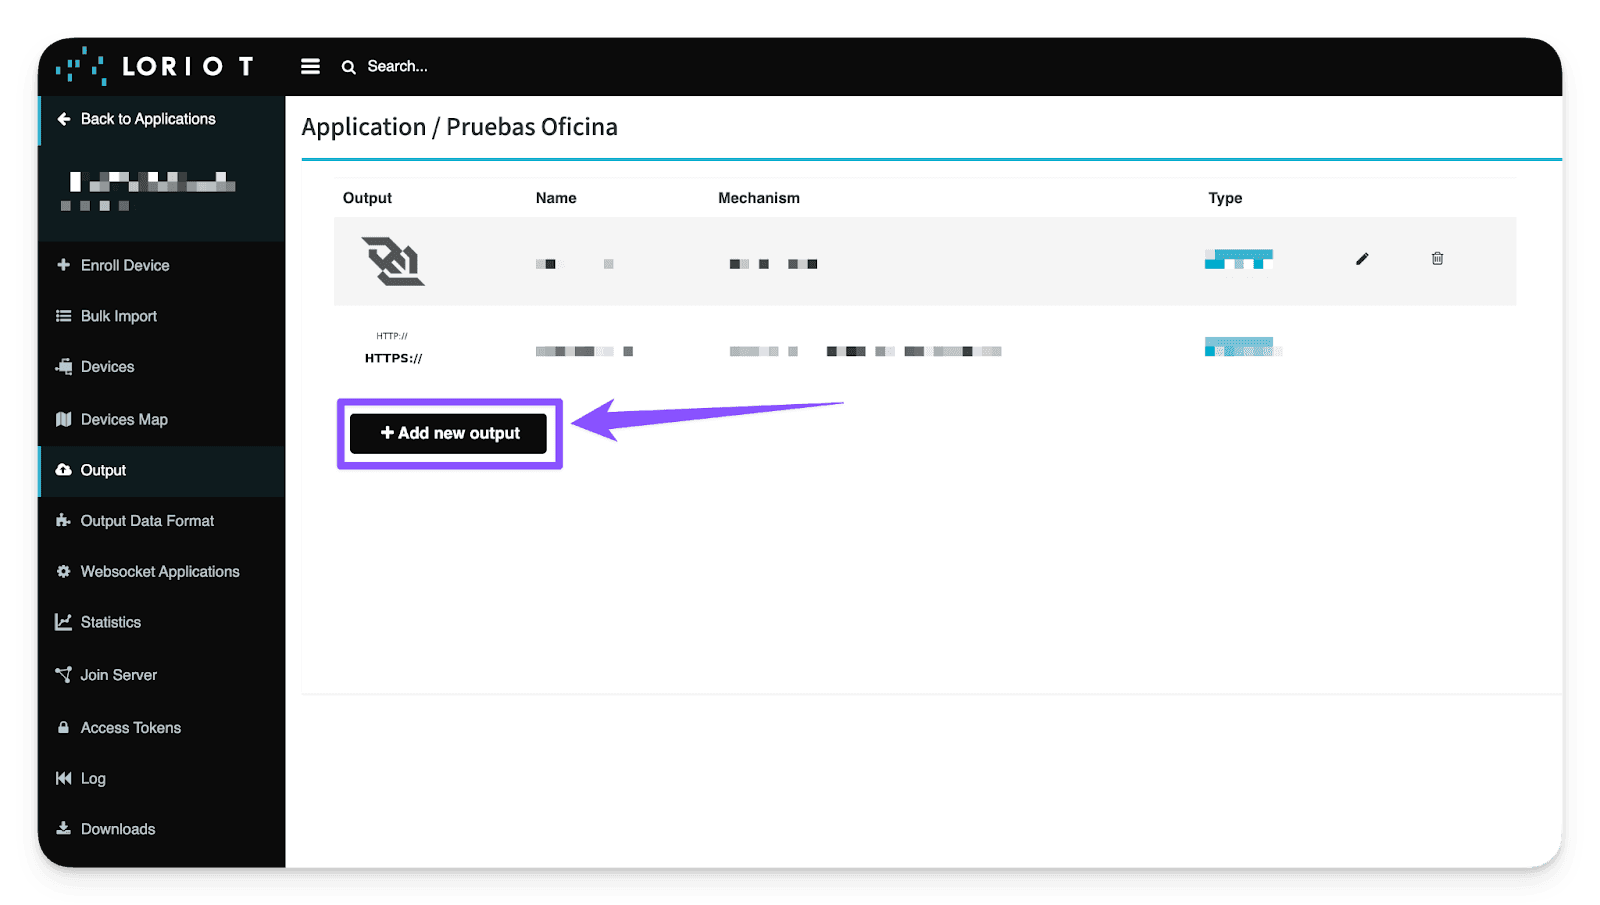
Within the Output options, we need to add a new Output type that is directed specifically to the Cloud Studio IoT platform. This Output type must be HTTP Push. To do this, click the "Add new output" button:
Output -> Add new output -> HTTP Push
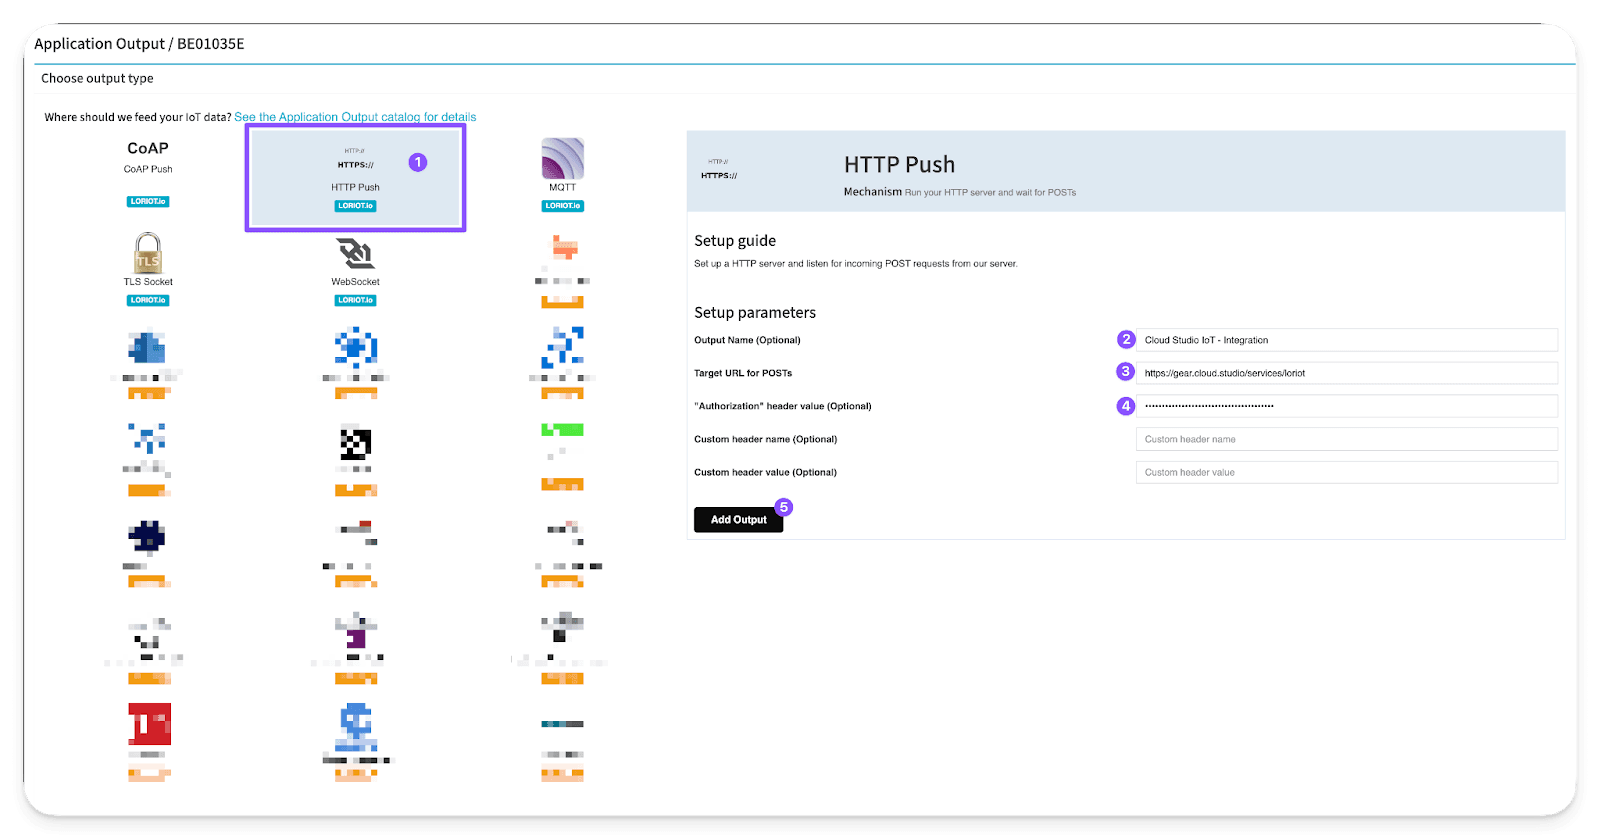
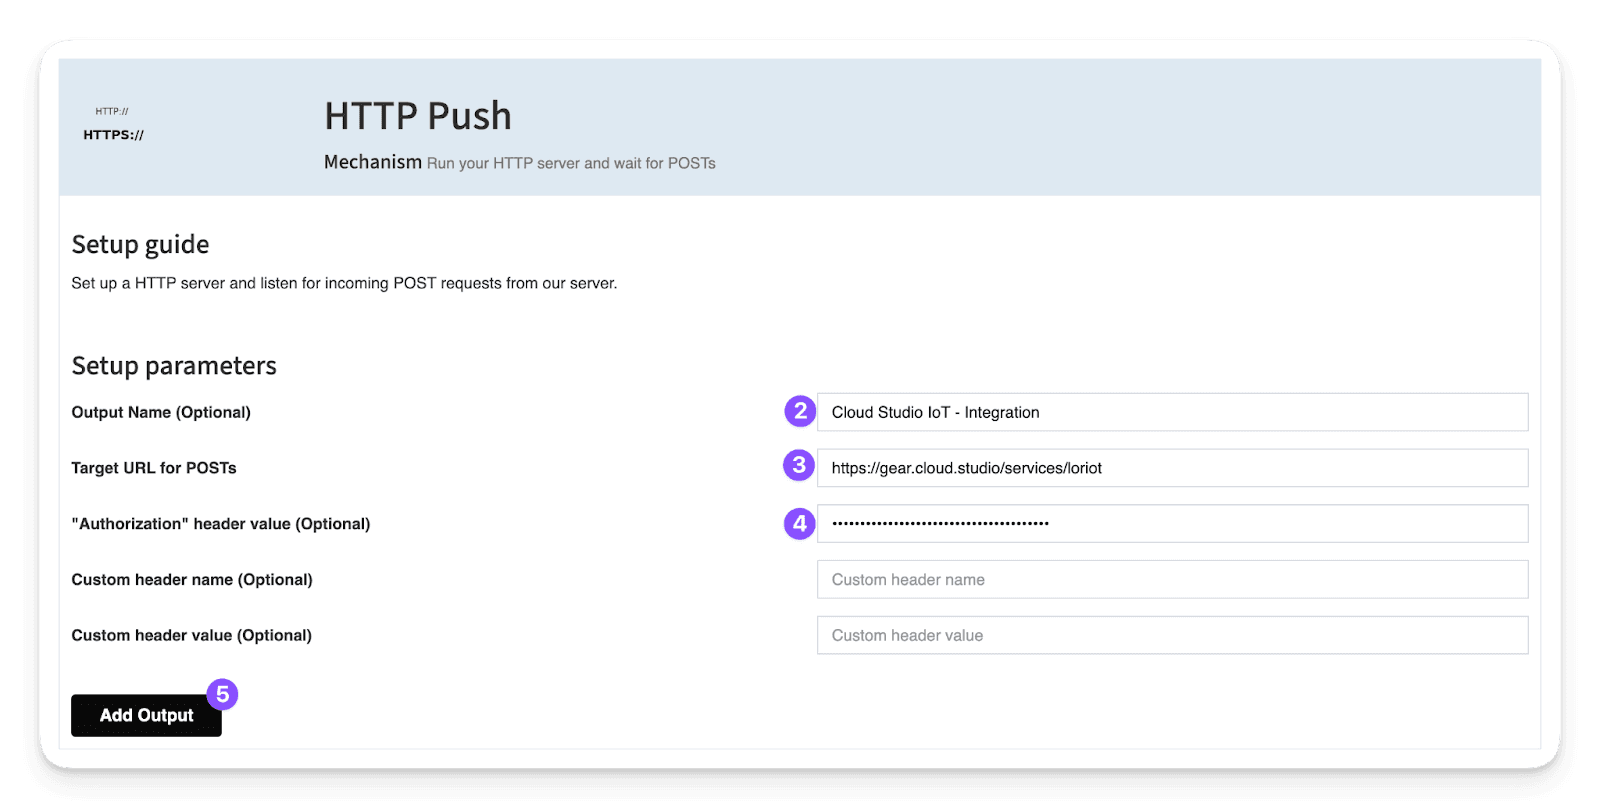
Within the HTTP Push options, we identify three key fields to fill in:
- Output Name: This field is optional and fully customizable; it will help identify the Output later. For example, "Cloud Studio IoT - Integration".
- Target URL for POSTs: In this field, you must enter the predefined link to our IoT Platform, Cloud Studio IoT:
https://gear.cloud.studio/services/loriot
- Note: If your instance is customized, you must enter your instance link in this format: https://XXXXX/services/loriot
Where XXXXX is the address of your customized Cloud Studio IoT instance.
- "Authorization" header value (Optional): Here you must enter the Access Token generated earlier on the Cloud Studio IoT Platform before starting with the guide.
It is important to note that the field must be completed in this format: "Bearer {AccessToken}". The "Bearer" is important (capitalized and with a space before the actual Access Token). For example: Bearer A823h0HSUBDmnmbcu9ae2nskdn.
To finish, simply click "Add Output" to complete the integration.
Output Name + Target URL for POSTs + "Authorization" header value (Optional) -> Add Output
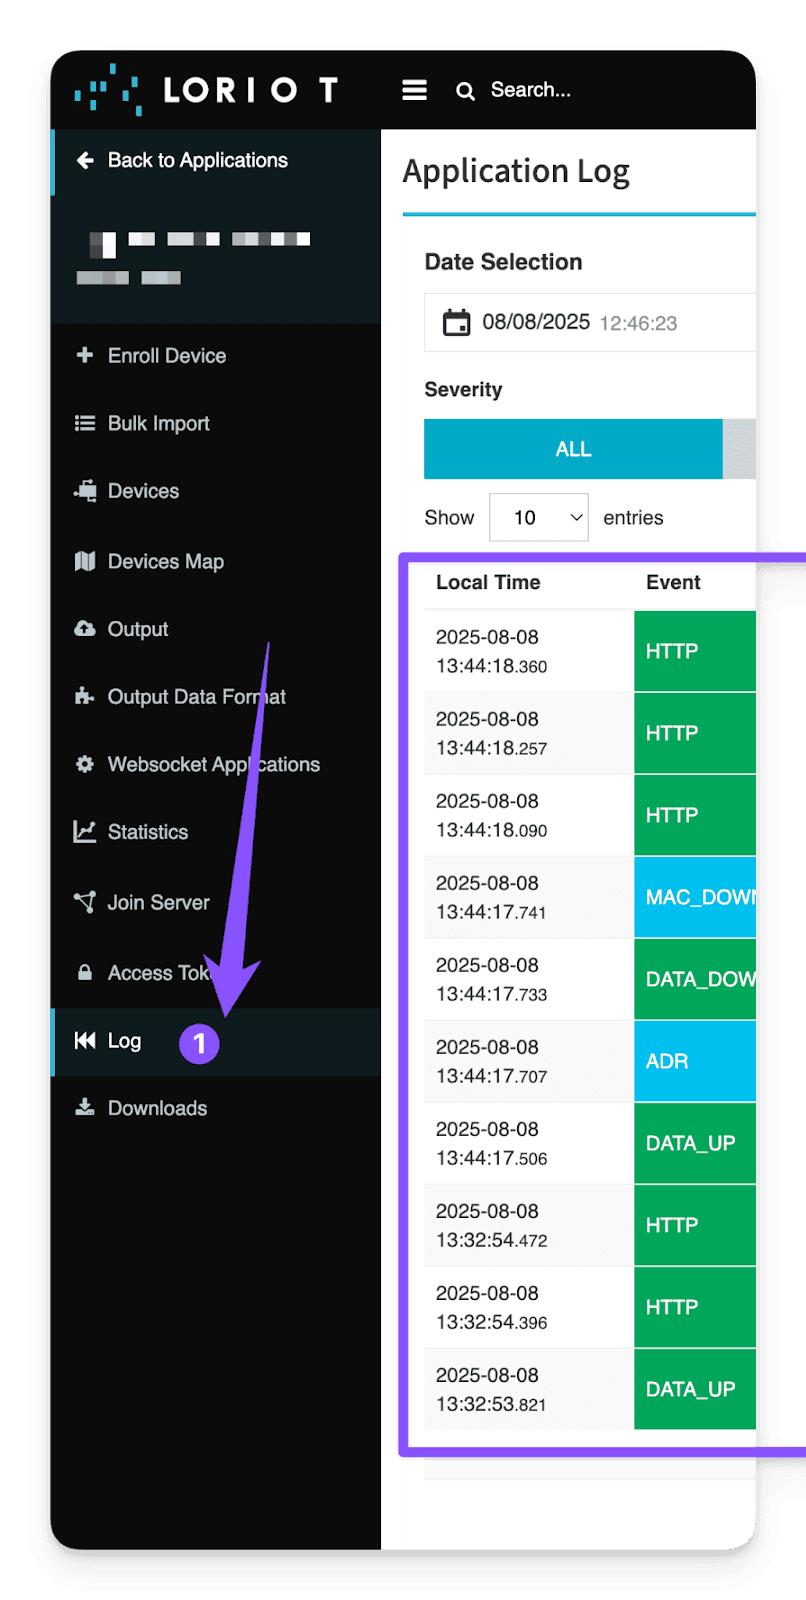
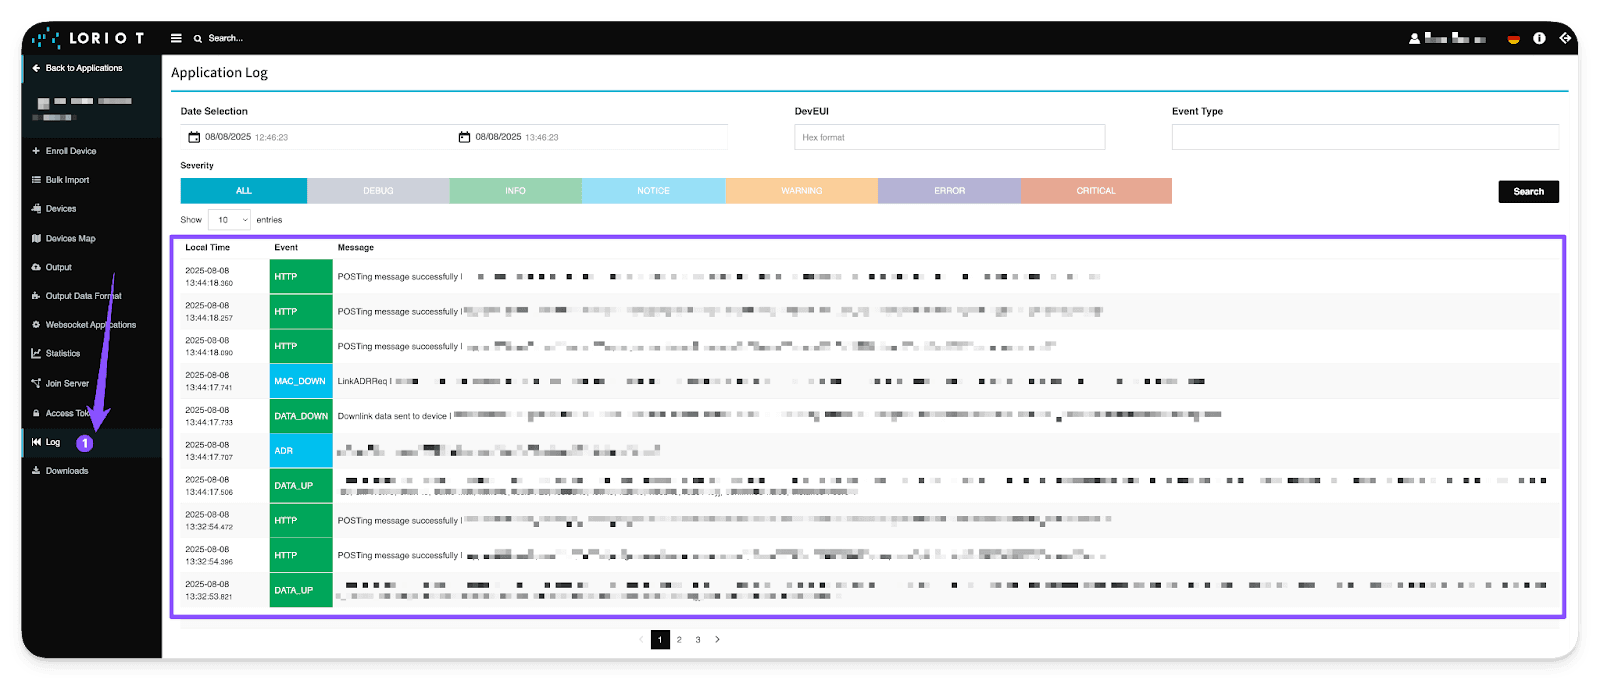
As a final step and as a security measure, we recommend visiting the "Log" tool within LORIOT to verify that all outgoing connections are succeeding toward the Cloud Studio IoT platform.
Last updated on
ThingPark X IoT Flow (Actility)
The ThingPark X IoT Flow integration allows the Cloud Studio IoT Platform to communicate with LoRaWAN devices using a variety of gateways available on the market. This article describes the steps necessary to complete the integration.
Helium
The Helium integration allows the Cloud Studio IoT Platform to communicate with LoRaWAN devices using a variety of device models available on the market. This article describes the steps necessary to complete the integration.